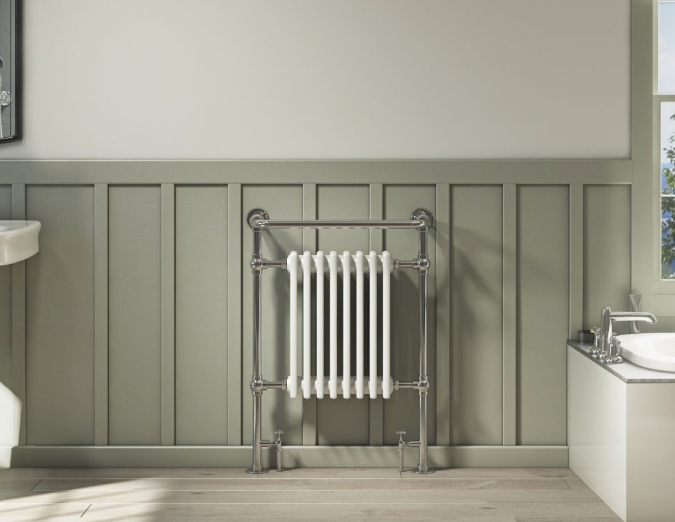
How to remove a radiator for decorating
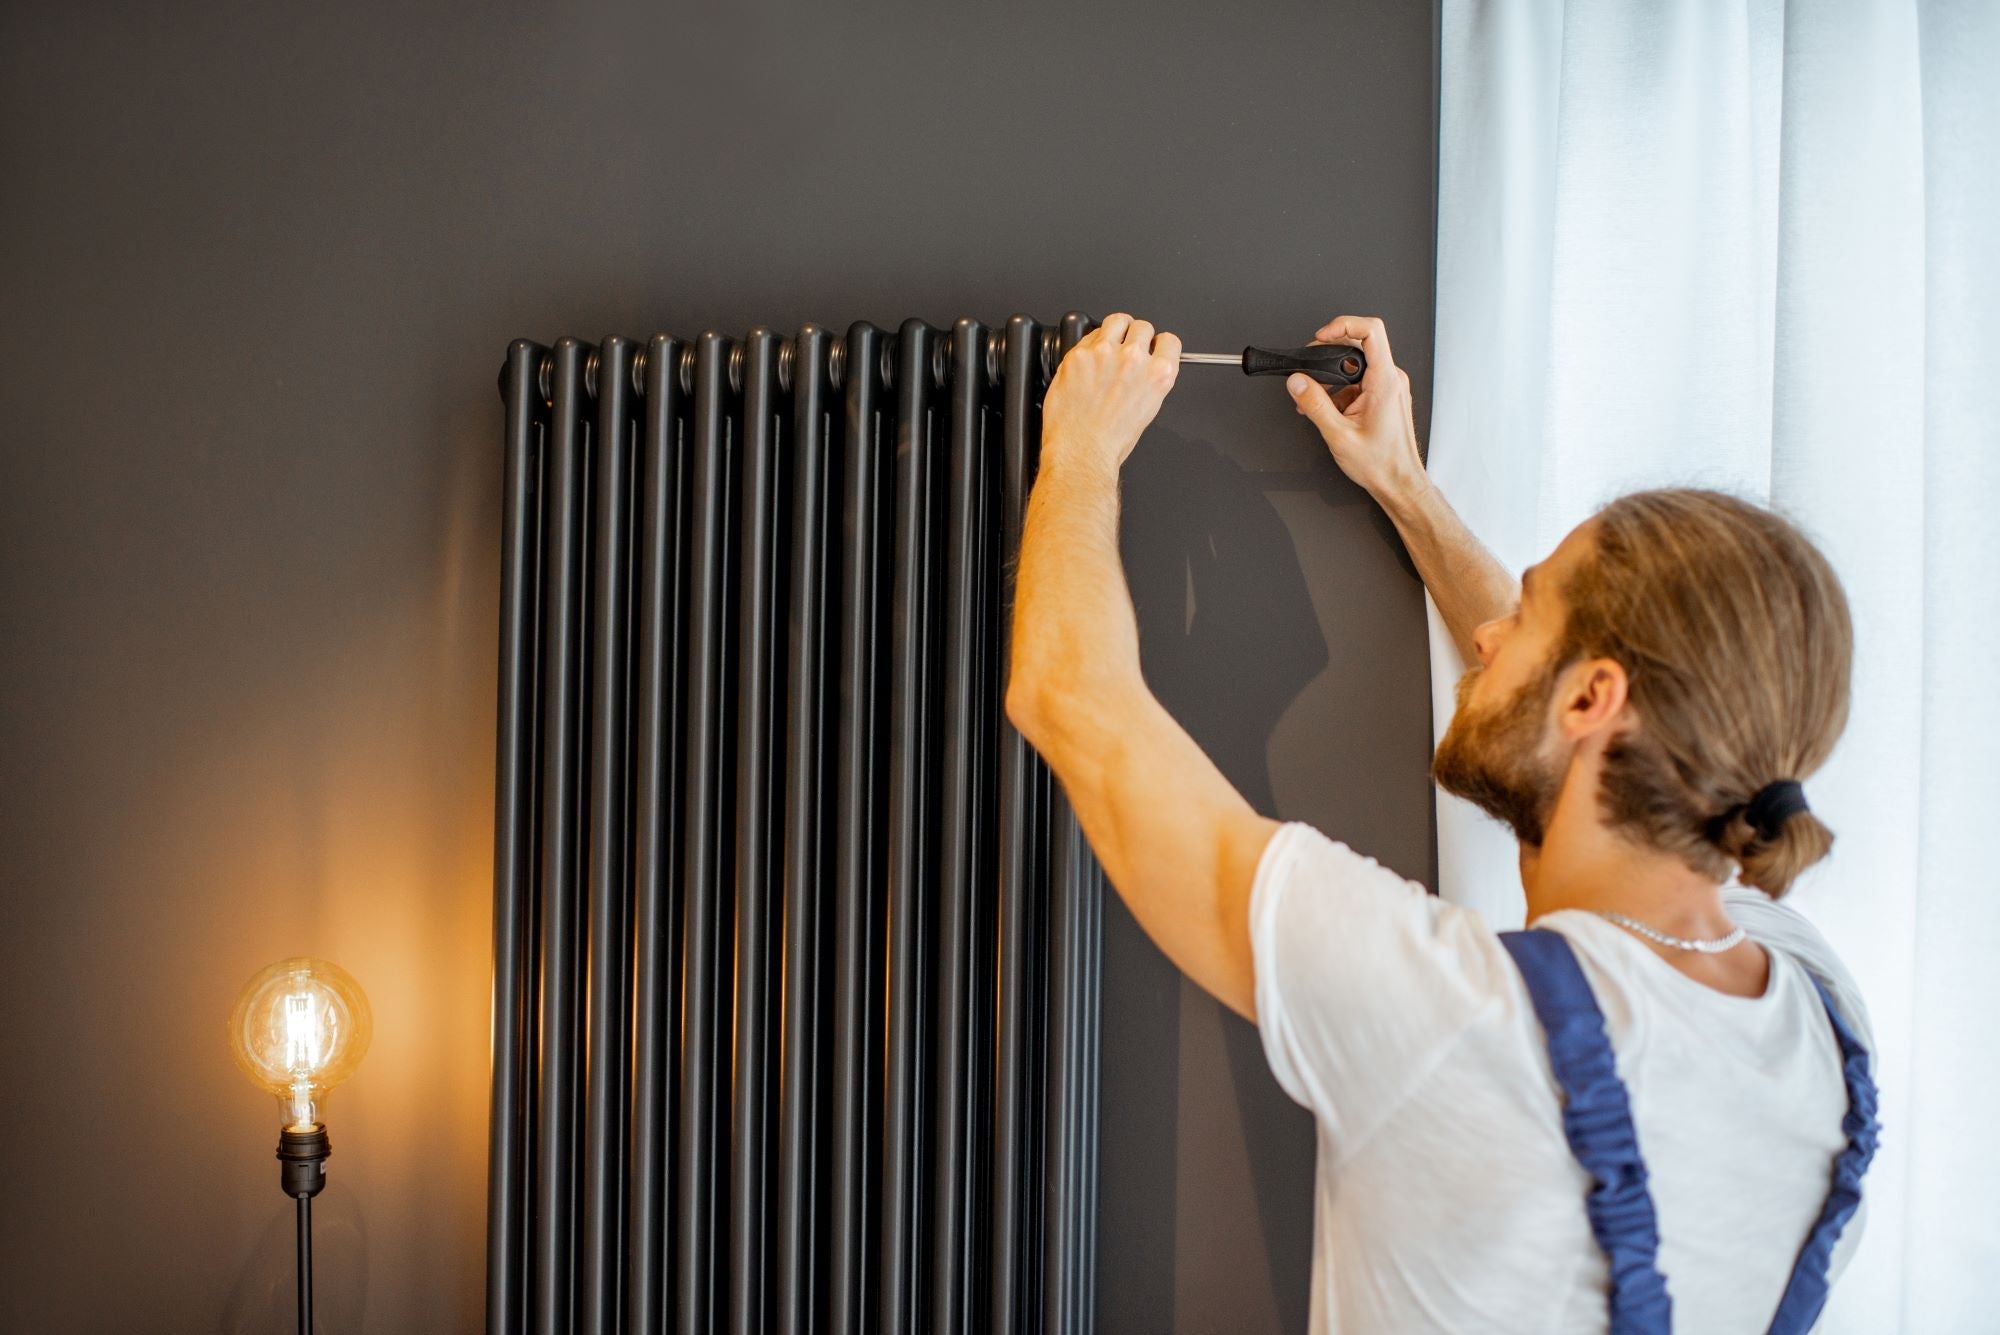
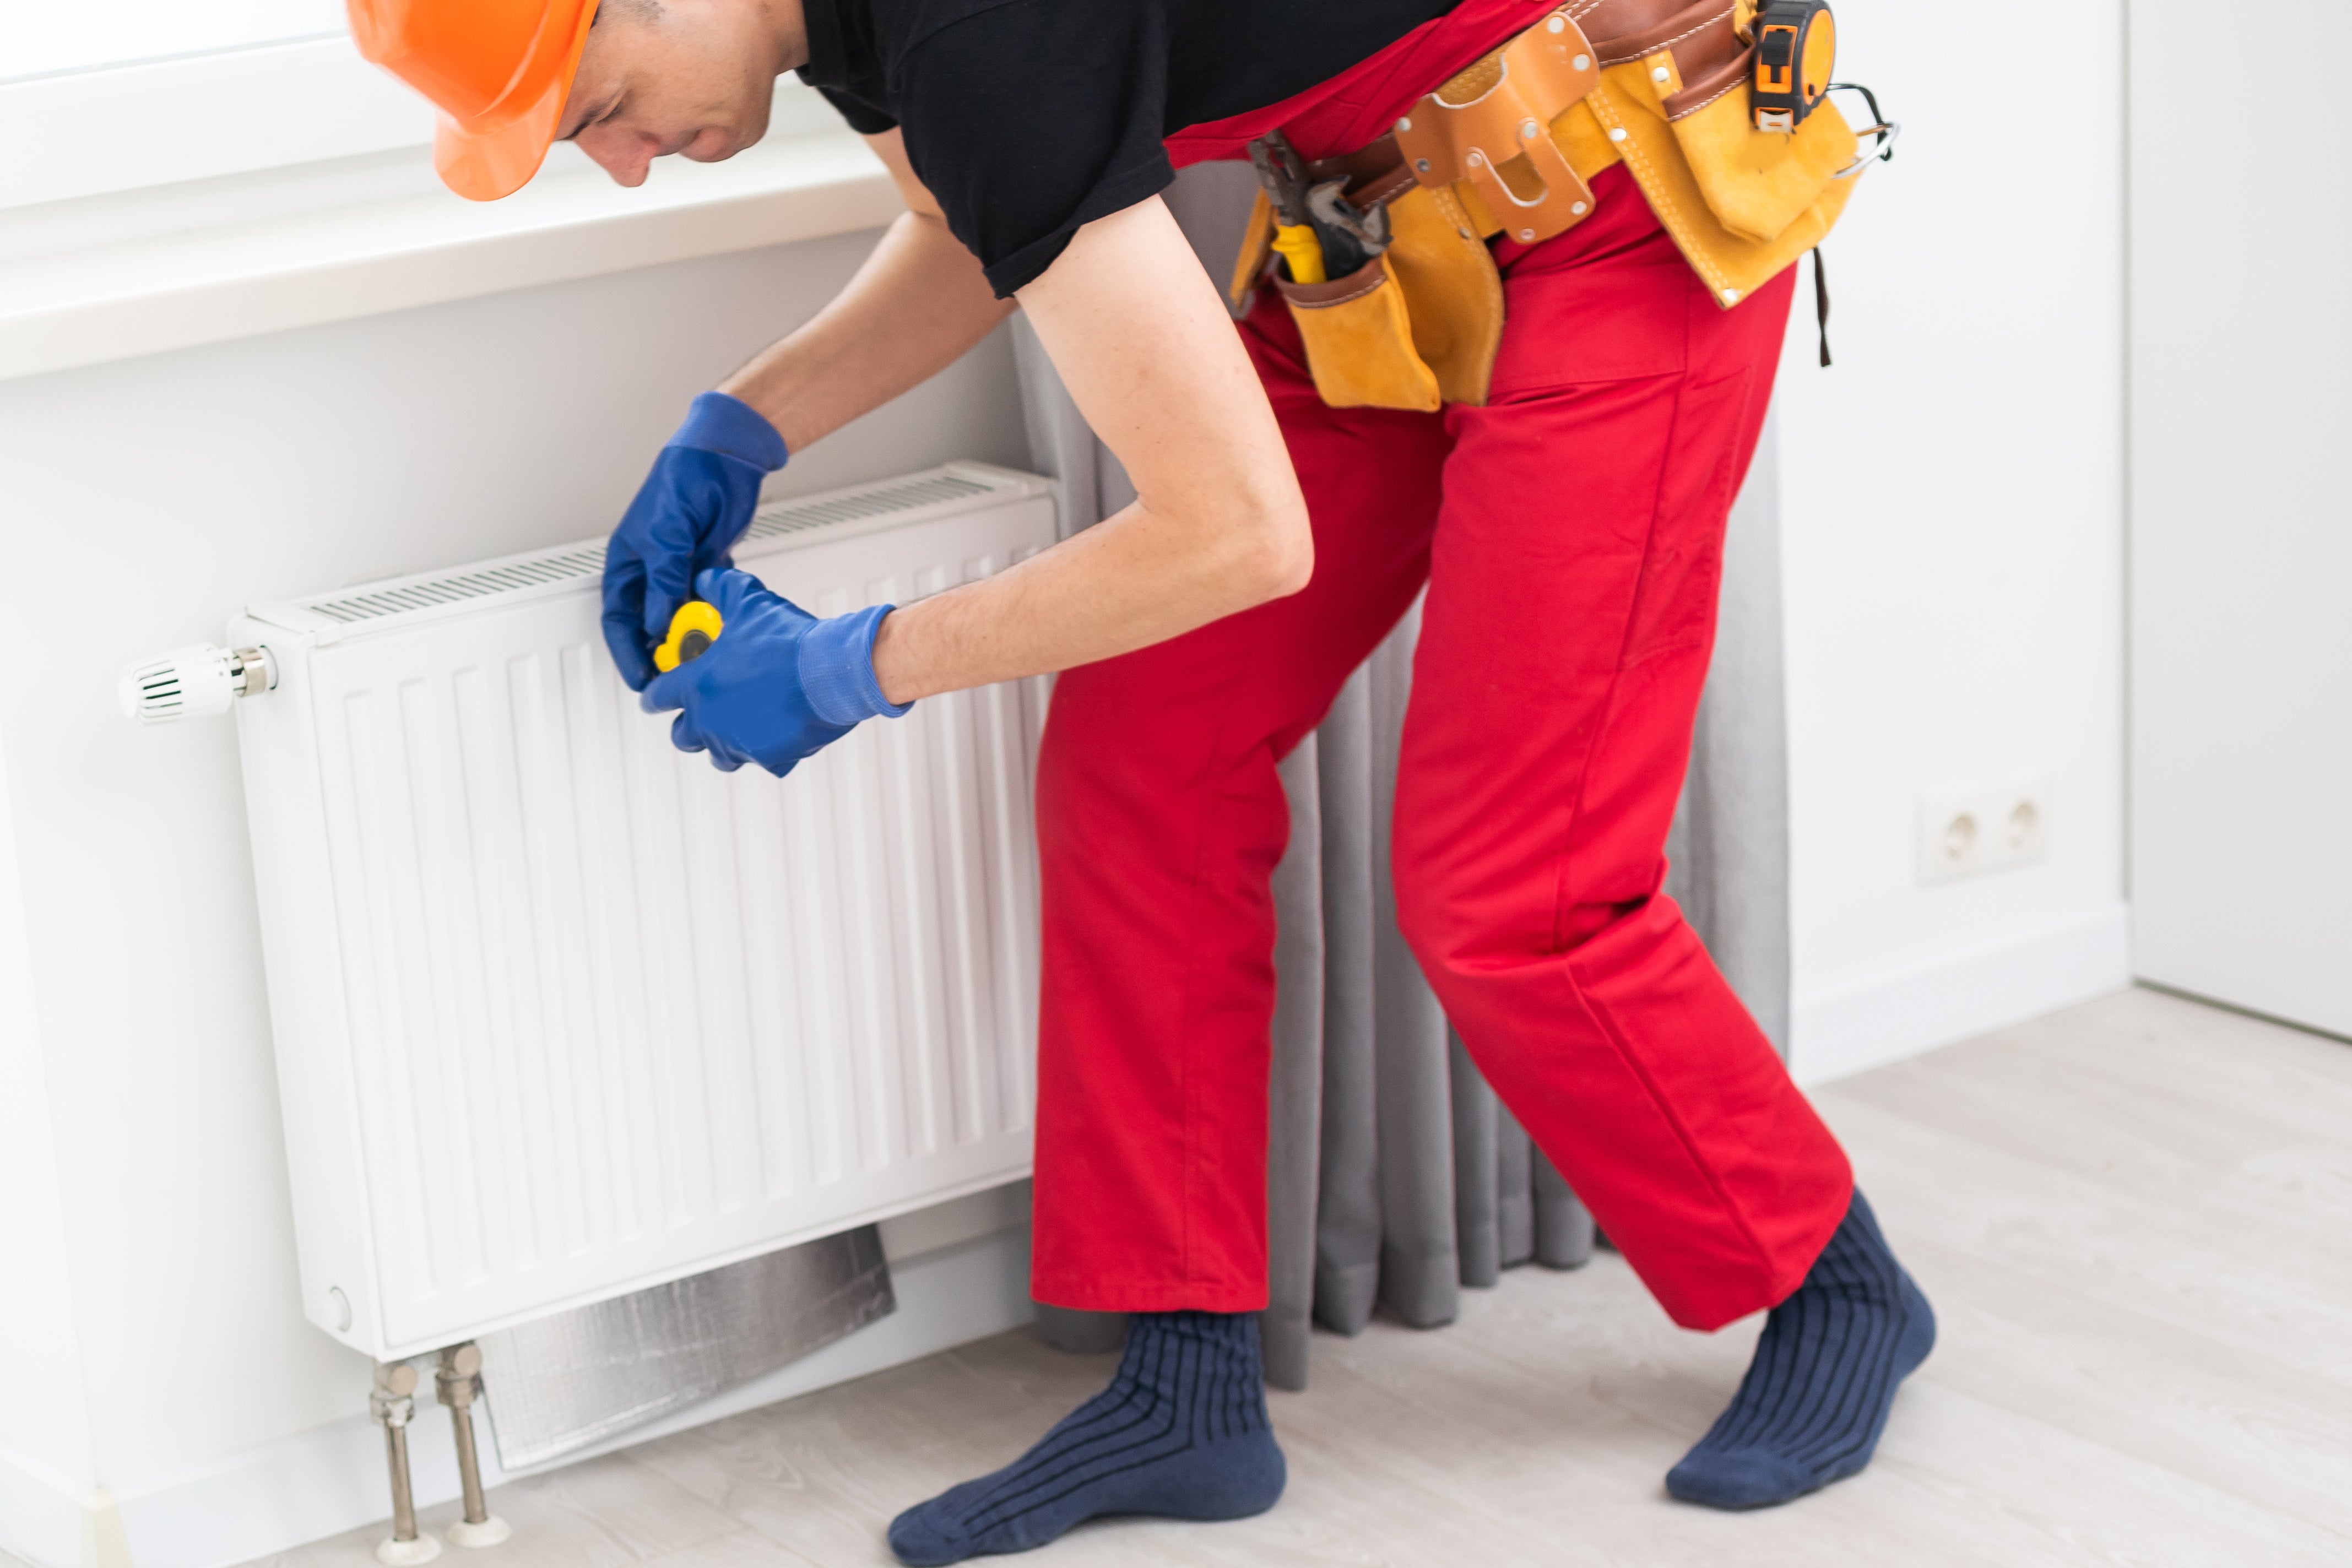
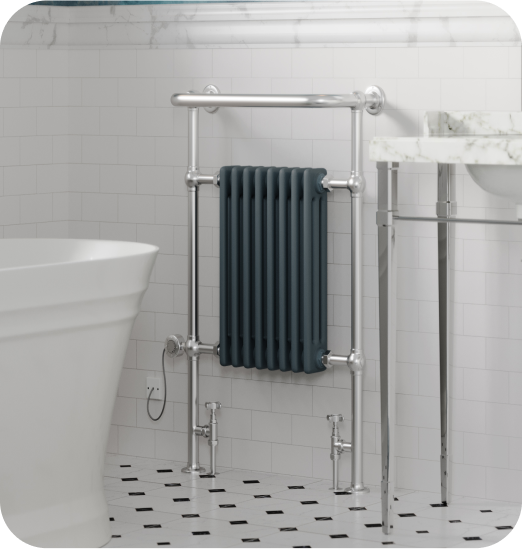
Removing a radiator for decorating can seem like a daunting task, but it really is quite simple. Not only is it simple, but if we take advantage of this process, it allows us to knock some money off of our heating bills and protect our radiator from leaks too. So before we go onto our task, we should take this opportunity to ask ourselves a few questions. The first question we should ask is, will our radiator survive this process? The good news is that the vast majority of radiators out there are so easy to remove and fit that there won’t be a problem. If, however, the radiator is particularly old, then we probably have a good opportunity here to replace it with a more modern radiator that provides a better heat output for the space it takes. You can see our radiators here. The next question we should ask is: if I am taking the radiator off the wall, can I save some money? This is often the case, especially where there are manual radiator valves in place that can be replaced with thermostatic radiator valves or smart radiator valves, as these will generally pay for themselves over time whilst offering ongoing savings and benefiting the environment. If you are not sure about valves or what to buy, don’t worry, as we have prepared a blog covering everything you need to know about these crucial radiator accessories. But provided you are happy with your radiator and valves in place, let’s talk about how to take a radiator off the wall. We will go through some different types of radiator too.
How to remove an Electric Radiator
This one can be a bit tricky and it is not recommended that you do this yourself. There will be special fluid inside the radiator, so we can’t just detach the element and let the radiator drain out. Plus, it is not recommended that you do this, even if you can get replacement fluid. To get it completely off the wall, we would need to detach the element from the electricity supply, but you will need to get a professional to do this for you. You might be tempted, where the cable is long enough, to detach the radiator from the wall and rest it on the ground, but the reality is that this may get in the way of your work. It’s also at high risk of being knocked about and could cause damage to the cable or element. Our recommendation is to always have a professional do this for you: one who can disconnect the element at the electricity supply. This will allow you to remove a radiator from the wall whilst retaining the fluid and to work safely without damaging the radiator or element. It shouldn’t be a long or costly job, but better safe than sorry.
How to remove a Dual Fuel Radiator
This is slightly different to the Electric Radiator. Our recommendation for this is that you get a professional to disconnect the element from the electricity supply in the wall so the element remains attached to the radiator. This will allow you to treat the dual fuel radiator as though it is a central heating radiator, meaning you can follow the section below.
How to remove a Central Heating Radiator
There are two methods of taking the radiator off the wall. First is the more well known way where you drain the water from the radiator, and the second is a more clever way to do it where you don’t lose any water from the system. You may have seen some videos for this online, where someone is removing a radiator without losing water, balancing it, flipping it upside down, taking it off the wall, and losing half the water anyway. But there is a much easier way of doing this.
Removing a Radiator without Draining (Clever Way)
The benefit of this method is that we will not only avoid the need for topping up the system or anything like that, but we can also protect against leaks, which can sometimes occur when reattaching the radiator (don’t worry, we cover how to fix these leaks if they do occur). Make sure you have the following to hand:
- Large Bucket
- Something flat and deep to catch water, like a paint tray, old oven dish or tupperware.
- Adjustable Spanner
- Some old Towels
- Bleed/Radiator Key (For Key Type)
- Screwdriver (needed dependent on bracket type)
It is also a good idea to have PTFE plumbers tape to hand, but we don’t need this until we explain how to fit a radiator back onto a wall.
Step 1 – Purchase and install an Isolator
The first thing we want to do is to purchase an isolator. They can be installed in a couple of minutes and are really useful devices. Our recommended isolators are the Aladdin EasyFit isolators. They fit 15mm pipes, but any isolator you can get that will suit your pipe size will work fine. Install these and put them into the “off” position. Alternatively, if you don’t want to install an isolator, go to the next section - “How to Drain a Radiator”.
Step 2 – Turn off the valves
You may have a couple of different set ups. Commonly, you will have a lockshield valve with either a manual or thermostatic radiator valve. However, sometimes there is a manual valve in place of the lockshield valve.
Lockshield Valve
The important bit: when you turn this valve off, you need to count the number of turns. That’s because this needs to be put back exactly how it was when we started. Sometimes, valves can just be turned off, but other times you need to remove the head/cap of the valve and turn it off with a spanner. Clockwise (righty tighty) is off and often this is only a half turn.
Manual Valves
For the manual valves just turn them off and remember its setting. Clockwise (righty tighty) is off.


Thermostatic Valves
For Thermostatic Radiator Valves (TRVs), ideally you would remove the thermostatic radiator valve head (usually just unscrew it) and use the decorators cap that was supplied with it to turn it fully off (little plastic cap) by turning it clockwise (righty tighty).

If you don’t have the decorators cap, then we can still remove the radiator from the wall without losing too much water. Just turn the TRV as far off as it will go. 
Step 3 – Unscrew any retaining screws
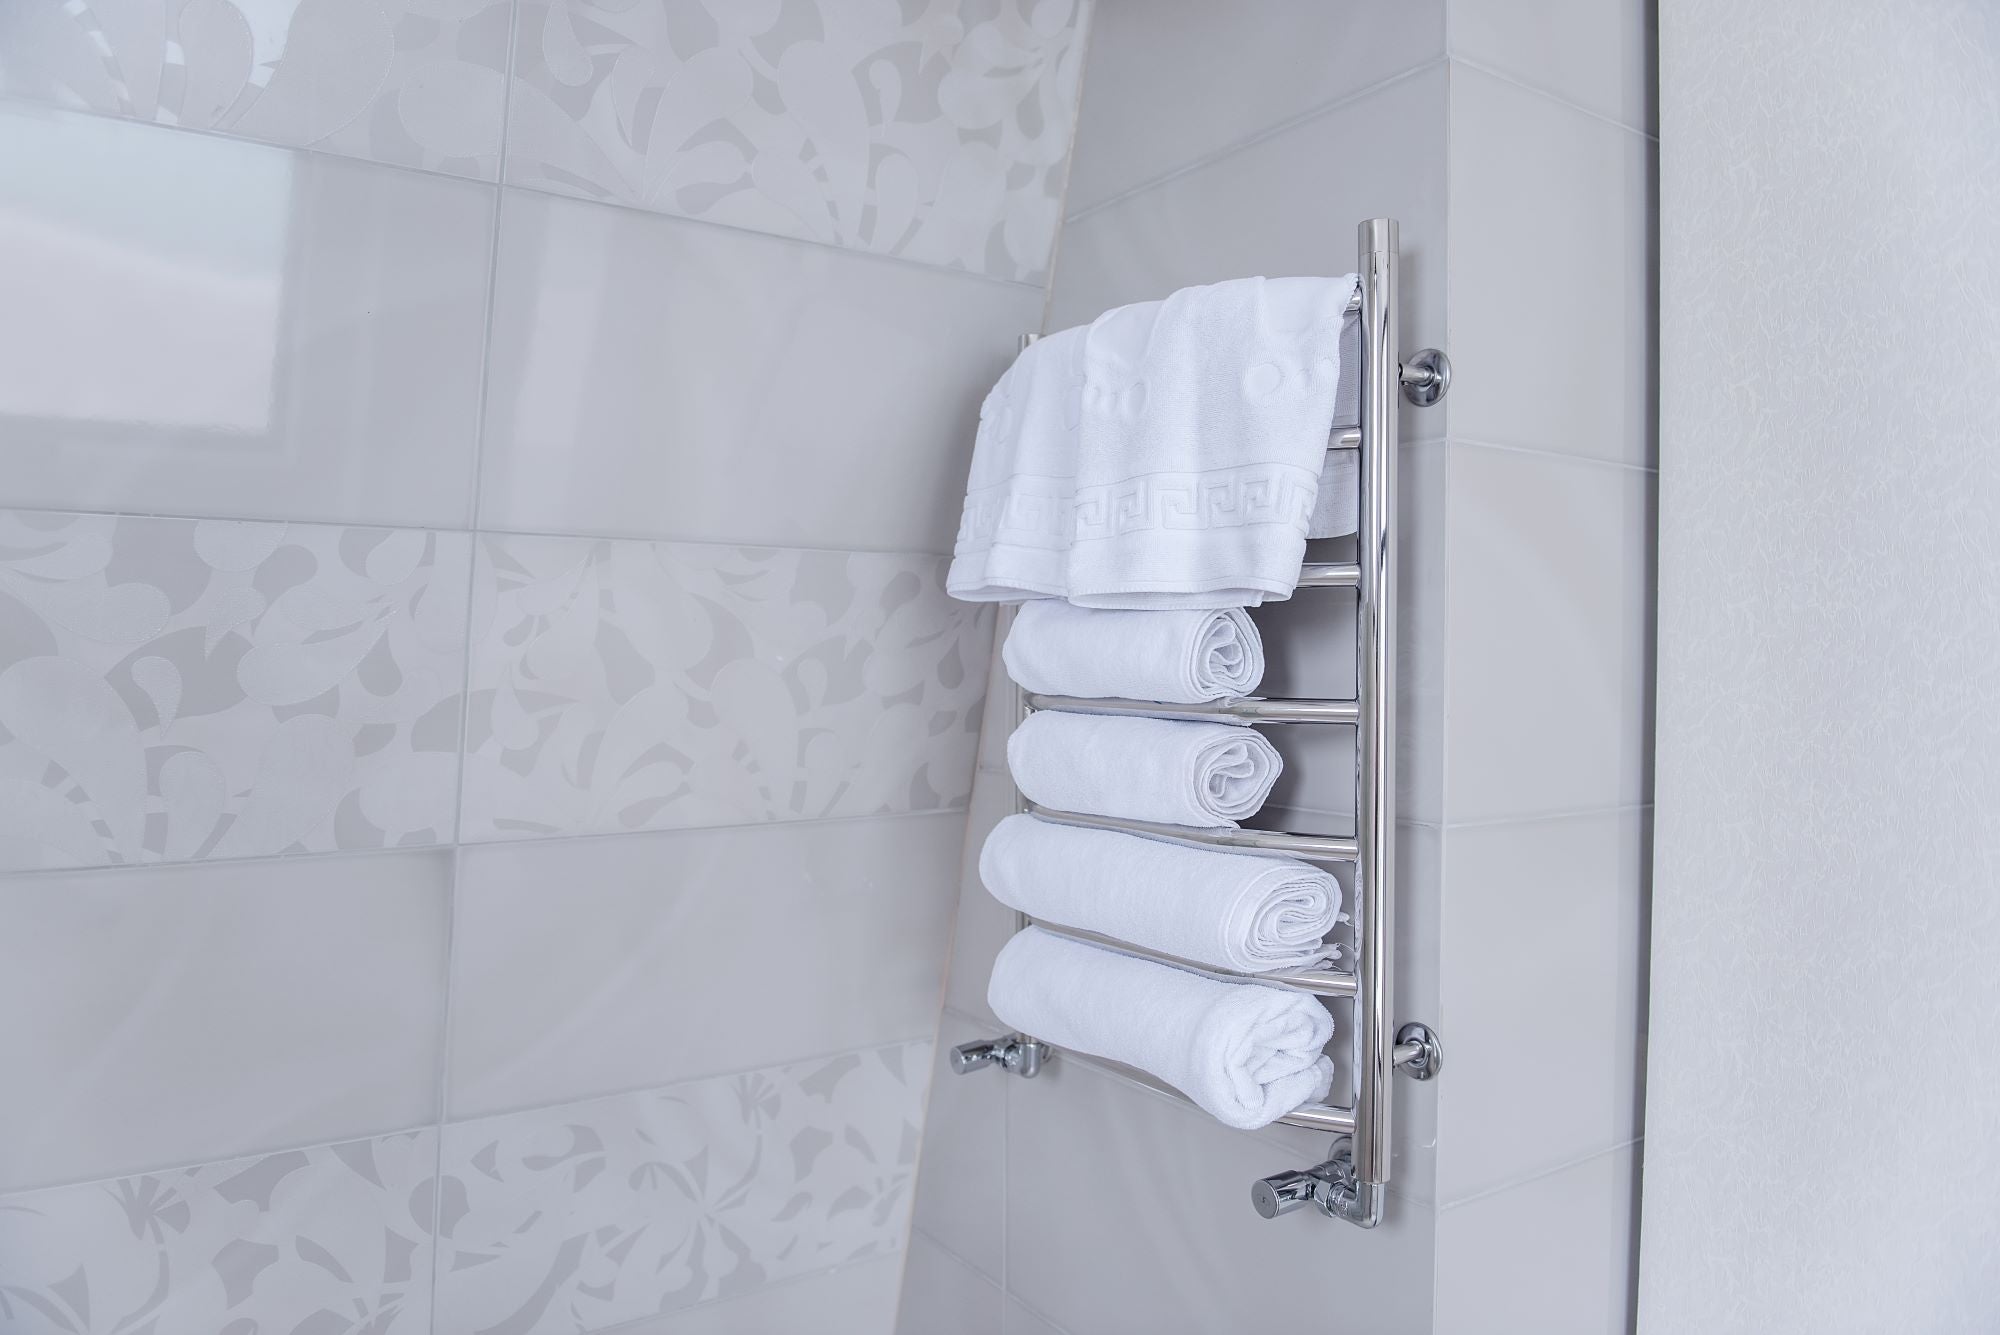
This step is only required when removing heated towel rails or for some radiators. Make sure you keep these somewhere safe. A good idea is to use a bit of tape to stick them to the brackets

Step 4 – prepare for water
While we have taken every care not to spill a drop of water, it is always a good idea to lay down some old towels near the valves, and to have the bucket and small tray for catching water ready and to hand.
Step 5 – unscrew union nuts
Now because we have isolators in place and the valves are closed, using the adjustable screwdriver, we can unscrew the bottom union nut on the valve which can be seen on the images below. This will mean we are taking the radiator off the wall with the valves still attached.


Step 6 – Remove Radiator / Remove Towel Rail
The radiator will have water in it, so depending on its size, this step may be a two person job. The radiator/towel rail will either pull away from the wall (if you had to do step 3 above removing the small screws) or it will lift up and off. When you put the radiator down, DO NOT rest it on the valves. You will need to turn it upside down with the valves facing up in the air to prevent them from getting damaged. It is also a good idea to place it on some soft material so you do not damage the finish of the radiator.
Step 7 – Decorate/Do what you need to do
Now that we have the radiator off the wall, it is time to decorate or do what you need to do.
Step 8 – How to fit a radiator
After your decorating or maintenance work is finished, it’s time to get your rad back on the wall. To do this, we basically do the steps we’ve already covered, but in reverse. Here’s how:
- Put the radiator back onto the brackets
- Tighten the union nuts for the valves

- If you had retaining screws on the brackets, put these back in (you may have taped these to the brackets as suggested so you could find them again easily).
- Prepare for water, lay down some towels and have a bucket ready.
- Reset the Valves - Turn the lockshield valve back to its original position (remember we made sure we counted the turns before) and turn the radiator manual/thermostatic valve on as well, back to the desired temperature (number).
- Turn the isolators to the “on” position
If there is a leak, try tightening the union nuts above, and if that does not work, then turn the isolators to the ”off” position and read our How to fix a leaking radiator blog. Using the radiator bleed key or screwdriver, dependent on the valve type, and with a towel in hand, open the radiator bleed valve (lefty loosey) until water comes out and then tighten it again (righty tighty). And if you need a hand with bleeding your radiators, we’ve got a blog for that too! Just head over to the Advice Centre.
How to drain a radiator
Before we do this method, make sure you know how to top up the water in your system as we will lose a lot of water doing this method and potentially impact the pressure and functionality of your system. If you are unsure, then the section above ‘Removing a Radiator without Draining (Clever Way)’ will give you a method of doing this where you don’t lose water and therefore there’ll be no need to top up your system. Make sure you have the following to hand:
- Large Bucket (2 is recommended)
- Something flat and deep to catch water, like a paint tray, old oven dish or tupperware.
- Adjustable Spanner
- Some old Towels
- Bleed/Radiator Key (For Key Type)
- Screwdriver (needed dependent on bracket type)
It is also a good idea to have PTFE plumbers tape to hand, but we don’t need this until we explain how to fit a radiator back onto a wall.
Step 1 – Turn off the valves
You may have a couple of different set ups. Commonly you will have a lockshield valve with either a manual or thermostatic radiator valve, however sometimes there is a manual valve in place of the lockshield valve.
Lockshield Valve
The important bit: when you turn this valve off is that you need to count the number of turns. That’s because this will need to be put back exactly how it was when we started. Some valves you just turn off, but sometimes you need to remove the head/cap of the valve and turn it off with a spanner. Clockwise (righty tighty) is off and often this is only a half turn. 
Manual Valves
For the manual valves just turn them off and remember its setting. Clockwise (righty tighty) is off.


Thermostatic Valves
For Thermostatic Radiator Valves (TRVs), remove the thermostatic radiator valve head (usually by just unscrewing it) and use the decorators cap that was supplied with it to turn it fully off (little plastic cap) by turning it clockwise (righty tighty). 
If you do not have the decorators cap, then the valve will continue to release water once the radiator is removed. If this is the case, you will need to purchase and install an isolator. Our recommended isolators are the Aladdin ones. They fit 15mm pipes, but any isolator you can get that will suit your pipe size will work fine too. If you have the decorators cap, then continue to step 2.
Step 2 - Unscrew any retaining screws
This step is only required when removing heated towel rails or for some radiators. Make sure you keep these somewhere safe - a good idea is to use a bit of tape to stick them to the brackets.

Step 3 – Prepare for water
Lay down some old towels by the valves and have your bucket and small container ready. Radiators can hold a surprising amount of water, for example, a 1600mm x 476mm radiator can hold 20 litres, whereas some of our towel rails only hold 2 or 3 litres. Just be prepared that a lot of water may flow out and having 2 large buckets and a helper is a good idea. Otherwise, in step 5 you will need to re-insert the radiator tail every time the bucket is full to stop the flow of water.
Step 4 – Slacken the union nut
With the adjustable spanner, loosen the union nut on the valve highlighted on the below image. Ideally, this will be done on the flow in, so we can make sure the valve that feeds water is fully off.


Step 6 – Disconnect the radiator tail
With the adjustable spanner, start unscrewing the next hex shown with the arrow on the image below, you may need to hold the valve with a grip to do this. Once it is unscrewed far enough, the water will release, so have the bucket ready. 
Step 7 – Drain the radiator
The water should now drain out of the radiator and stop once it is empty. If water comes out of the valve, then you need to ensure that this is off properly, per the previous steps. If the water does not stop draining from the radiator, then the valve at the other side is likely still on. Make sure this is off per the previous steps. Once drained, make sure the valve is fully disconnected from the radiator.
Step 8 – Disconnect the other valve
Slacken the union nut on the other valve.

With the adjustable spanner, unscrew the next hex shown with the arrow on the image below, you may need to hold the valve with a grip to do this. Do this until the valve is disconnected from the radiator.

Step 9 – Remove Radiator / Remove Towel Rail
Depending on the size of your rad, you may need 2 people to take the radiator off. The radiator/towel rail will either pull away from the wall (if you had to do step 2 above removing the small screws) or it will lift up and off. It is also a good idea to place it on some soft material so you do not damage the finish of the radiator when you put it down.
Step 10 – Decorate/Do what you need to do
Now we have the radiator off the wall, it is time to decorate or do whatever you need.
Step 11 – How to fit a radiator
Again, once everything is finished, it’s time to get your rad back on your wall. To do so, we basically do the steps above but in reverse:
- Put the radiator back onto the brackets.
- Re-connect the radiator tails by screwing in the Hex.

- Tighten the union nuts.

- If you had retaining screws on the brackets, put these back in (you may have taped these to the brackets as suggested so you could find them again easily).
- Prepare for water, lay down some towels and have a bucket ready.
- Reset the Valves - Turn the lockshield valve back to its original position (remember we made sure we counted the turns before) and turn the radiator manual/thermostatic valve on as well, back to the desired temperature (number). If you had a thermostatic radiator valve, you would need to remove the decorators cap and re-attach the thermostatic radiator valve head, if you used the decorator cap instead of an isolator.
- If you used an isolator, turn the isolators to the on position.
If there is a leak, try tightening the union nuts and hex above. And if that doesn’t work, then turn the valves to the off position (and/or isolator if you used one) and see our How to fix a leaking radiator blog. If there are no leaks, using the radiator bleed key or screwdriver, dependent on the valve type, and with a towel in hand, open the radiator bleed valve (lefty loosey) until water comes out and then tighten it again (righty tighty). For further help on bleeding radiators, see our blog on bleeding radiators. Finally, as we lost a lot of water in this method, we may need to top up the system. You will need to refer to your boiler manual for how to do this. It is also a good idea, at this point, to consider adding an inhibitor (special fluid) to your system to protect against corrosion, sludge, limescale and more.
Time to turn on the heating
All being well, your decorating is done, you’ve learned how to remove a radiator and your heating is back on without any leaks present. If you’ve done a great DIY job on your radiator then show it off online! We’d love to hear from you on Facebook or Instagram, and might even share your work on our page too.


