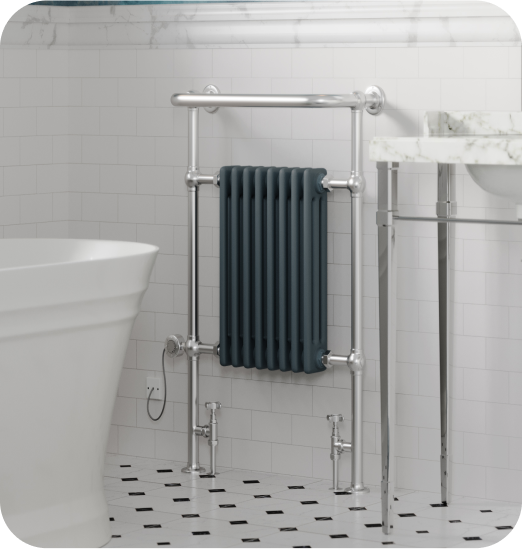
How to Flush a Radiator
A radiator flush will remove any sludge build-up in your radiator. This is important, as sludge - if left unchecked over time - will lower your radiator’s heating performance.
Now, radiator sludge is a combination of rust, dirt, and scale, which builds gradually from metals on the inside of a radiator. Trace minerals in the water and other debris also contribute to this build-up as they circulate through your central heating radiators.
If you're looking to carry out a radiator flush, this guide is for you. Not only is it a relatively simple process, but one that will help you to improve the overall condition of your central heating yourself.
So, let’s get stuck in.
You will need:
- Old towels or sheets
- Spanner
- Radiator bleed key
- Large bowl or bucket
- Hose pipe
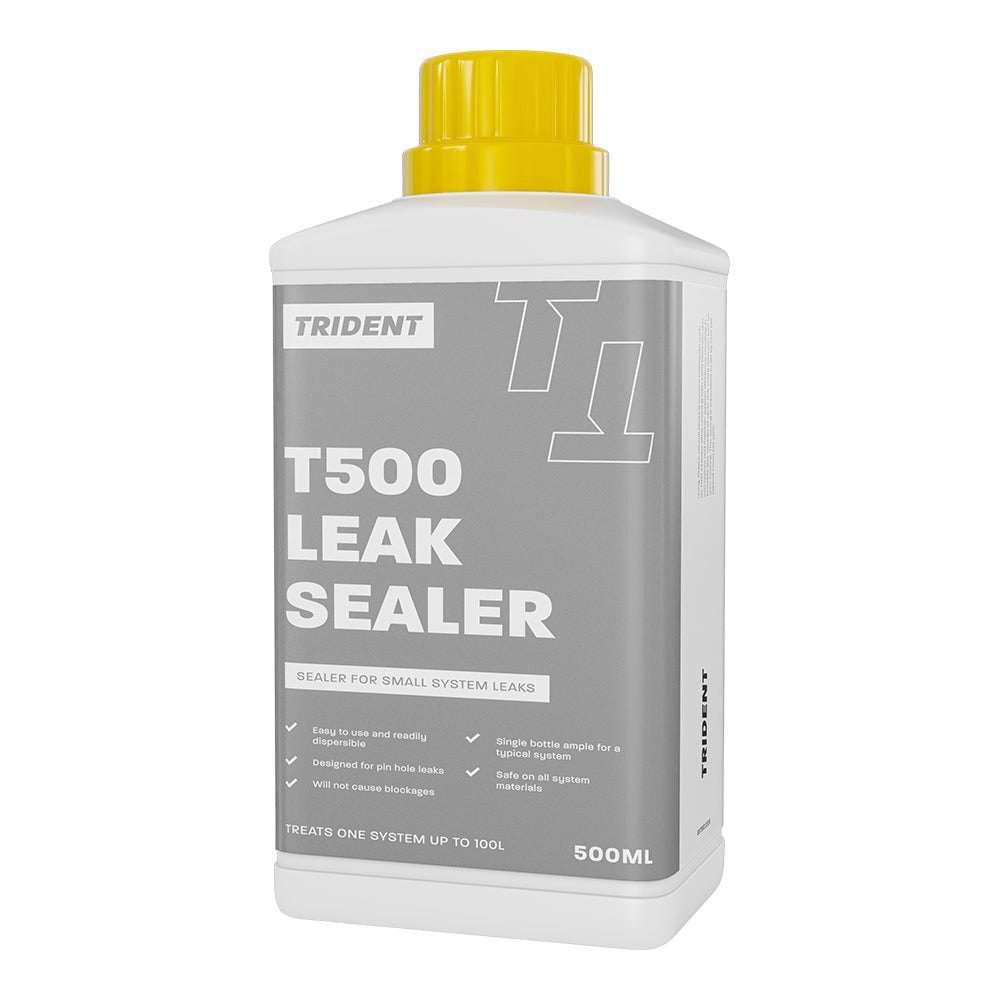
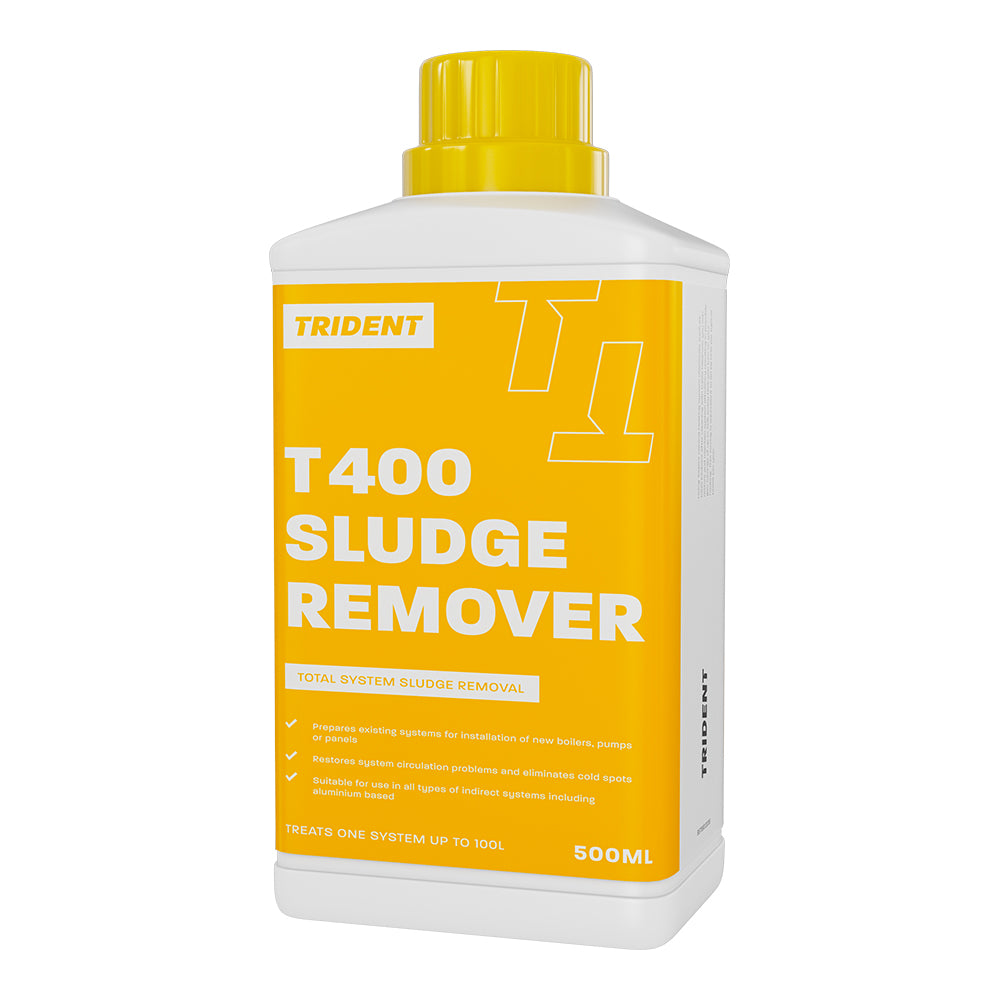
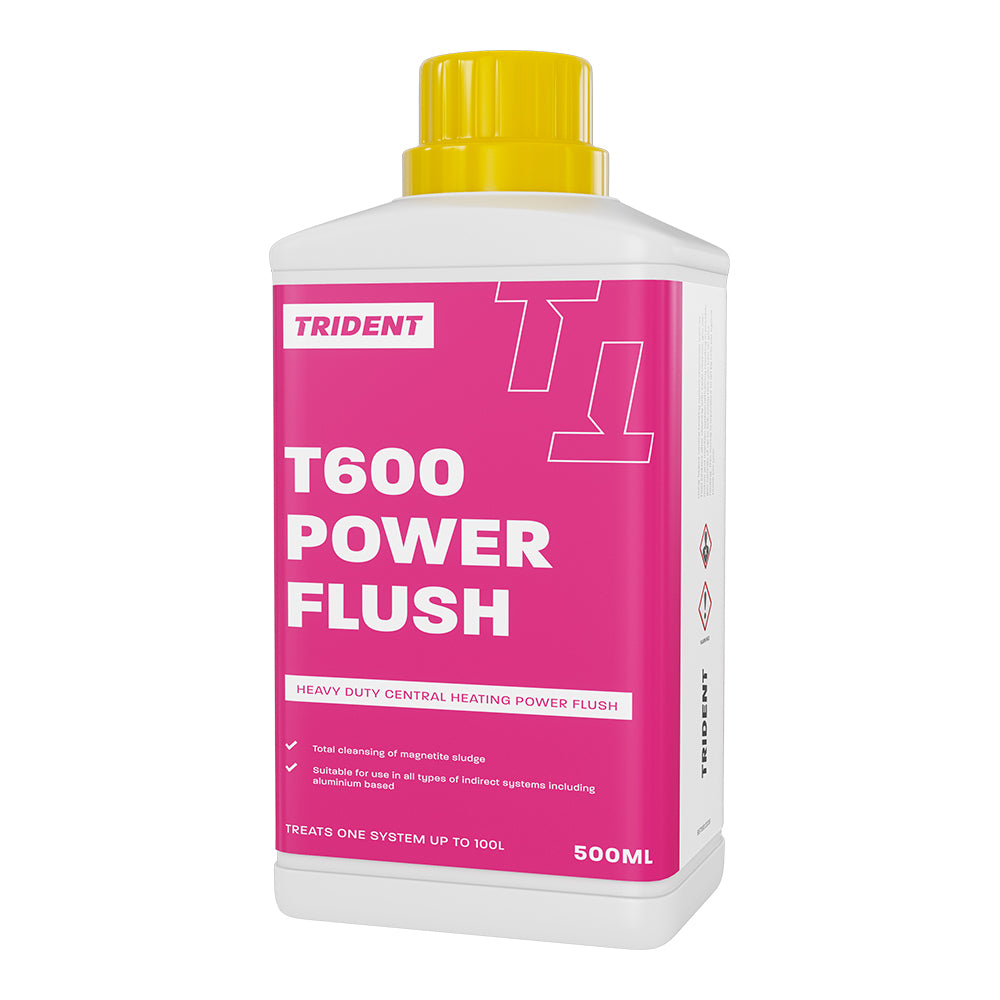
You can also get your hands on cleaning agents like our Trident - T400 Central Heating Sludge Remover or the Trident - T600 Central Heating Power Flush for a radiator flush at home with maximum effectiveness.
Your Step-by-Step at a Glance
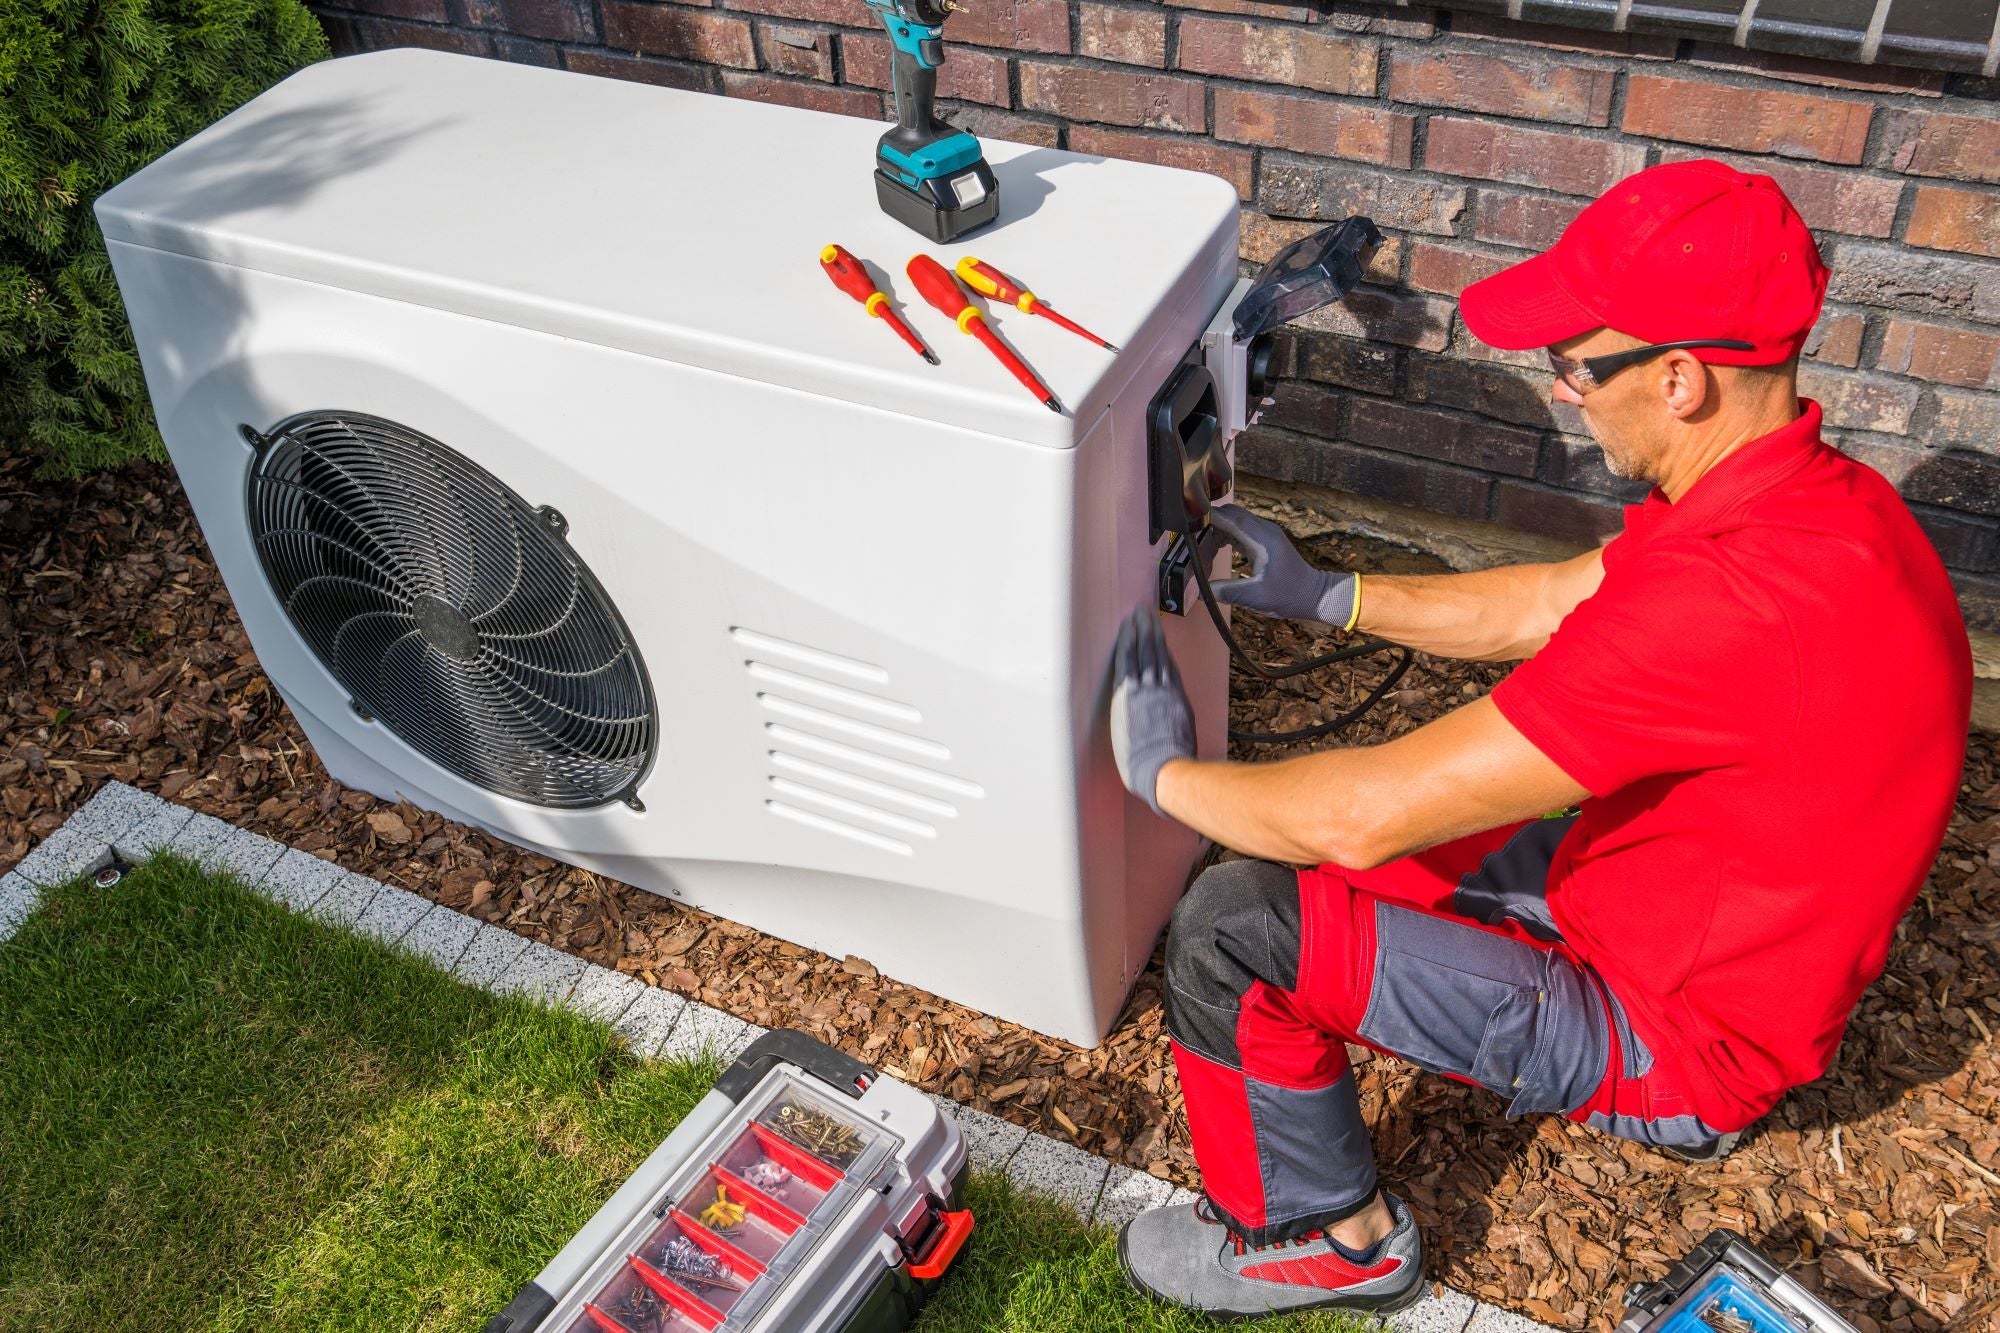
- 1) Turn the heating off - Whenever you are doing work on your radiators, always remember to turn the heating off and let the radiators cool down first.
- 2) Protect your floors - You’ll be releasing sludge and dirty water from the radiators, so get the towels ready.
- 3) Turn both valves off - Isolate and shut the radiator off from the rest of your central heating system by turning the valves at both ends of the radiator off.
- 4) Release Air Pressure - Use a radiator bleed key to open the bleed valve to remove any air pressure.
- 5) Drain the radiator - Catch any sludge and dirty water that flows out of the valves with your bucket. Once you have drained the radiator, close the bleed valve with your bleed key.
- 6) Take the radiator off the wall - Remove the radiator and take it carefully outside to a drain to flush it safely.
- 7) Flush the radiator - Attach the hose pipe to the radiator valve inlet and give the radiator a good flush.
- 8) Reconnect your radiator - Hang the radiator back on the wall, re-tighten the nuts and open both valves.
- 9) Check and top up the boiler pressure if needed - If the pressure has dropped below 1 you will need to repressurise the system with the external filling loop.
- 10) Watch and Listen - If your radiator continues to exhibit unusual symptoms like brown liquid, cold spots, or loud unusual noises, you may need professionals to come and take a look.
How Do I Know If My Radiators Need Flushing?
If you notice any of the following signs, flushing your radiator system can help tackle the problem so your central heating radiators work efficiently.
When to flush your radiator:
- Cold patches at the bottom of the radiator
- Brown liquid when you bleed your radiator
- Your boiler is making loud, unusual noises
In case you were wondering, if the radiator is cold at the top of the radiator, air could be trapped inside. So, instead of flushing the system, you'd need to bleed your radiator to release the air instead.
How to Flush a Radiator in 10 Steps
Step 1 - Turn the Heating Off
Whenever you are doing work on your radiators, remember to turn the heating off and let the radiators cool down before you start. It typically takes about half an hour to let them cool down fully, but giving it the full hour can't hurt.
Step 2 - Protect Your Floors
Cover the area directly beneath your radiator and its valves with old sheets or towels or a waterproof tarpaulin. This will keep your floors clean and dry while you carry out the flush.
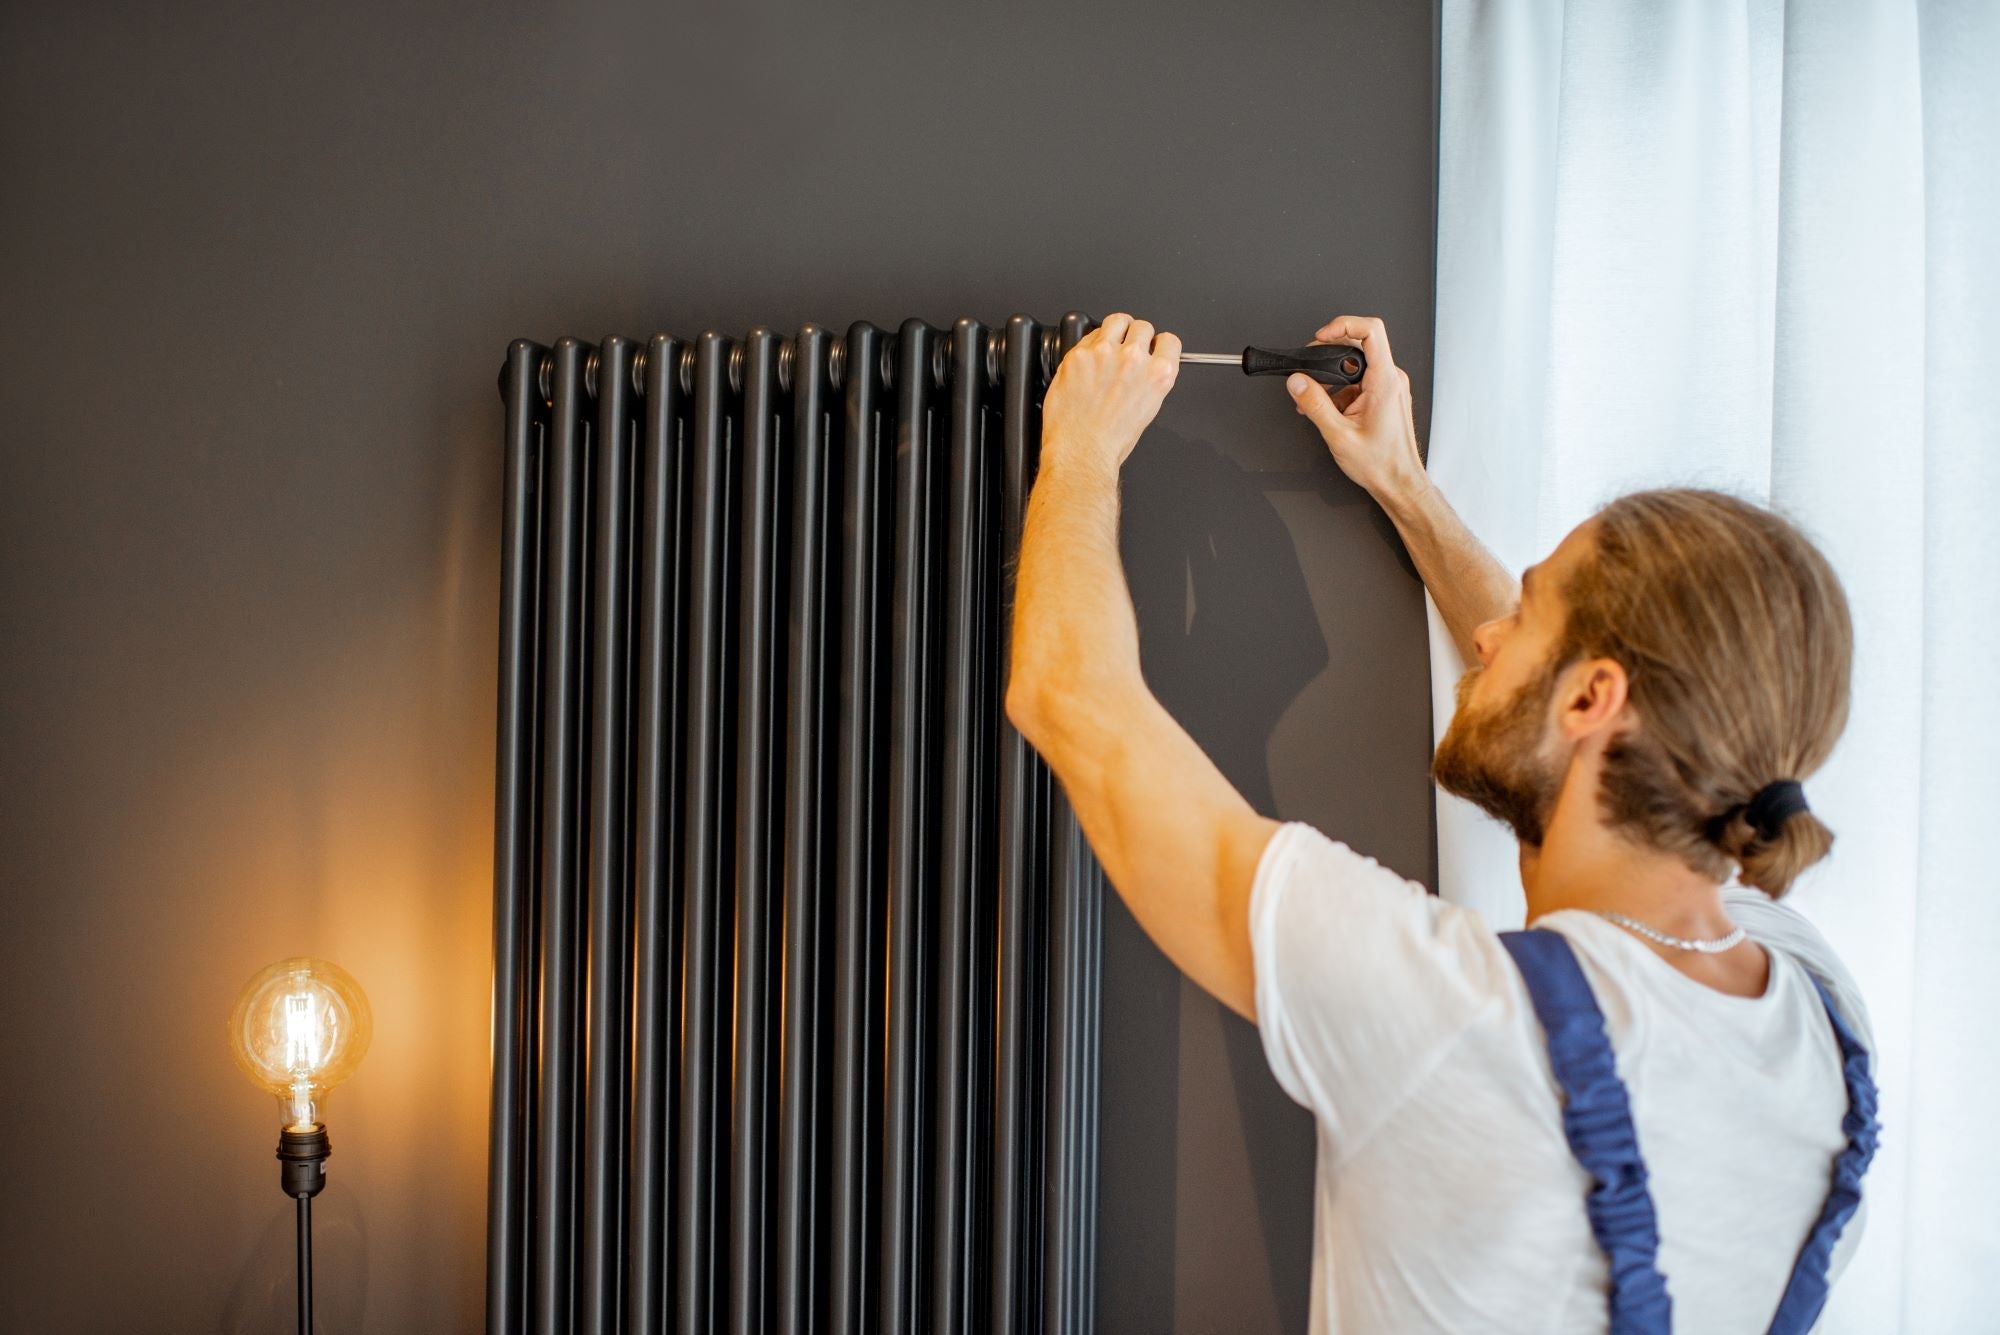
Step 3 - Turn Both Valves Off
Switch the radiator valves to the off position on both sides of the radiator. This will disconnect it from the rest of the central heating system.
For the lockshield valve, you will need to remove the plastic cap and then use a spanner to turn the valve clockwise until the system is off.
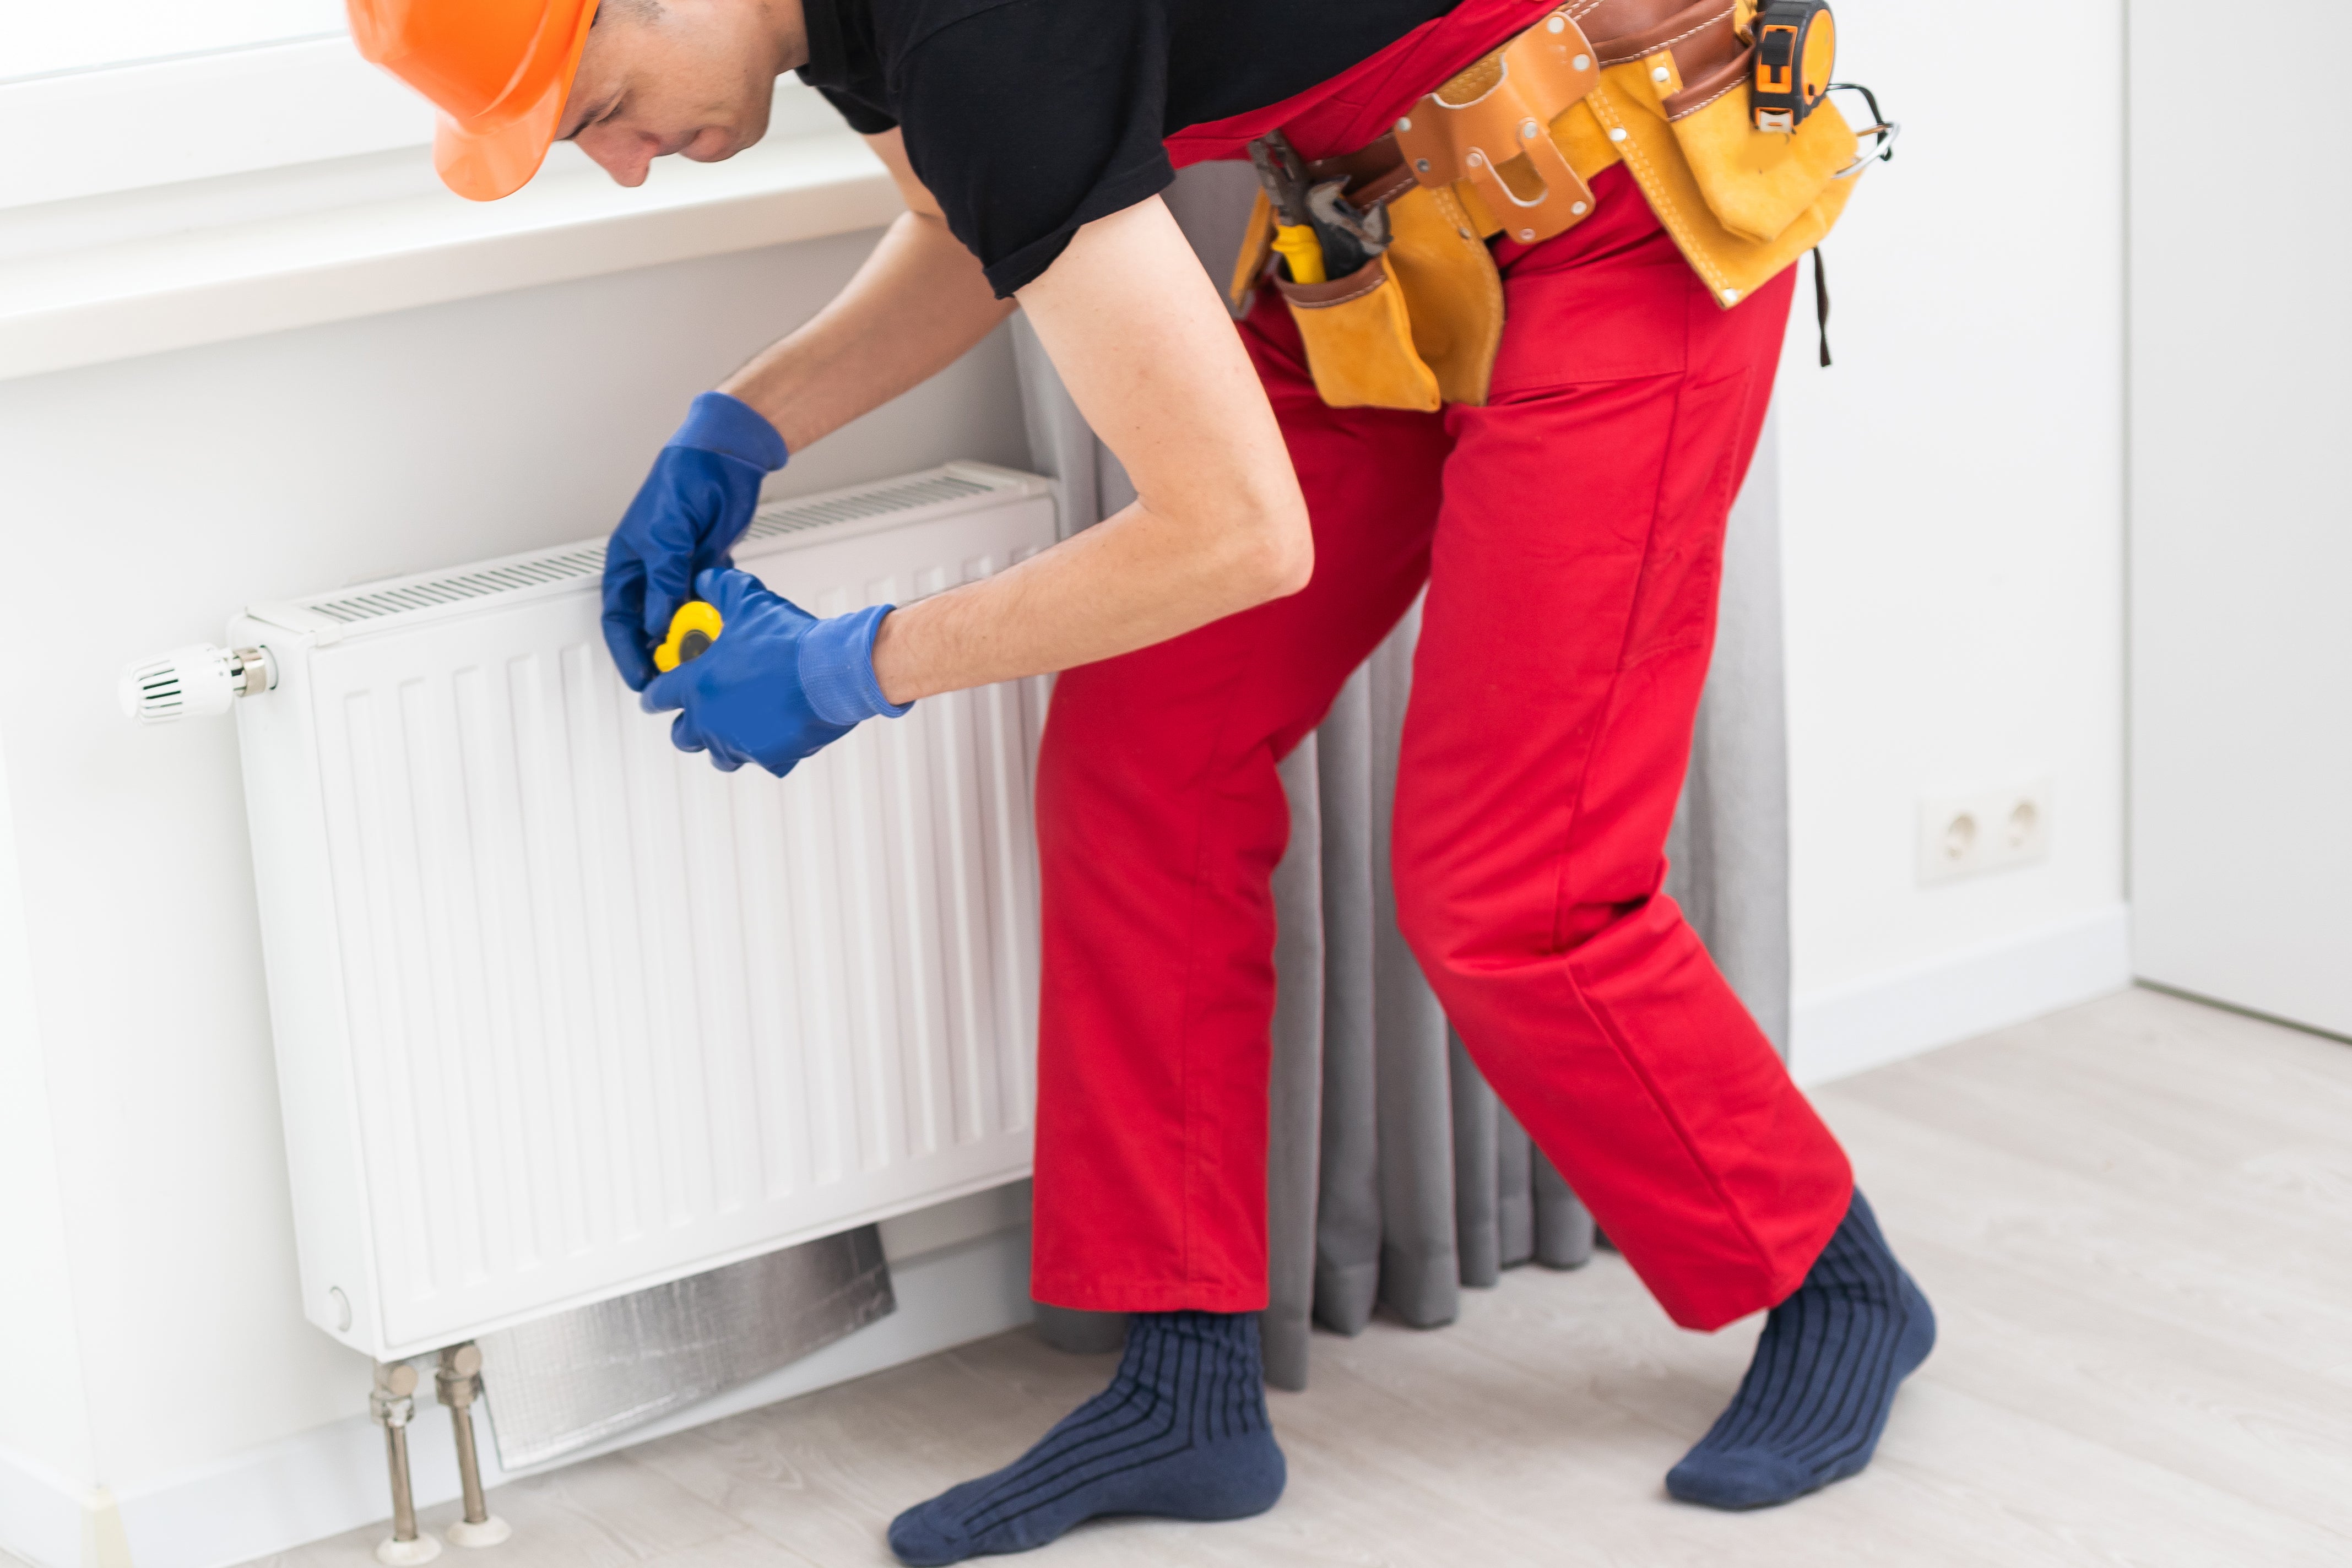
Step 4 - Release Air Pressure
Use a radiator bleed key to open the bleed valve to remove any air pressure.
Step 5 - Drain the Radiator
Catch any sludge and dirty water that flow out of the valve with your bucket. Then loosen the nut on the lockshield valve with your spanner and catch the water on that side of the radiator too.
Once you have drained the radiator, close the bleed valve with your radiator bleed key.
Step 6 - Take the Radiator Off the Wall
With the nuts on both valves loosened, you should be able to remove the radiator from the wall easily. The radiator will probably still have some dirty water and sludge inside so make sure to transport it carefully and use bags to cover it if needed.
Exercise caution if handling larger units, such as vertical column radiators - enlist the help of a second person or take extra precautions and work slowly to avoid injury or damage to your surroundings.
Step 7 - Flush the Radiator
Attach the hose pipe to the radiator valve inlet and turn the tap on high to give the radiator a good flush. The flow of clean water flushing through the radiator and out of the other inlet should bring all the sludge with it.
If you have a rubber hammer at home, this can be used to give the radiator a few taps to help dislodge any stubborn sludge build-up.
For maximum effectiveness, flush after having circulated a cleaning agent such as the Trident - T600 Central Heating Power Flush solution.
If possible, try to conduct this part of the process over a drain to avoid dumping unwanted chemicals into your garden and causing damage. If you're draining a bathroom radiator, be mindful of using the bath or shower areas to drain as this could cause blockages, as well as possible damage like scratches to fittings and fixtures.
Attach the hose to the valve inlet at the other end of the radiator to get as much sludge out as possible until the water comes out clear.
Step 8 - Reconnect Your Radiator
Hang the radiator back on the wall, re-tighten the nuts and open both valves. Remember to turn the lockshield valve the same number of times as you did when removing the radiator.
Open the bleed valve with your key to allow any trapped air to escape from the air vent.
Step 9 - Check the Boiler Pressure
If the boiler pressure has dropped below 1, you will need to repressurise the system using the external filling loop. Since the heating is still off, the boiler pressure should be between 1 and 1.5 bar.
Step 10 - Watch and Listen
If your radiator continues to exhibit unusual symptoms like brown liquid, cold spots, or loud unusual noises, you may need professionals to come and look.
What Happens If You Don’t Flush Your Radiators?
If you or a plumber don’t clean out the sludge in your radiator, your system won't be able to circulate the hot water properly. The build-up of cold zones on your radiator surface will mean your radiators work harder to heat the space they once were able to.
This, in turn, reduces your heating efficiency as modern radiators take longer to heat a room, increasing your costs. As the build-up of sludge cycles through the system, it can build up elsewhere, eventually affecting the boiler directly, potentially leading to breakdowns and excess wear and tear of the boiler system.
Along with this guide, we have another guide to help you do more to improve your heat efficiency and reduce heat loss in your home for greater comfort during the colder seasons.
Keep Your Radiators in Tip Top Shape with UK Radiators
At UK Radiators, we can provide you with guidance on radiator installation and positioning so that you can get the most out of your heating system. Give us a call on 0333 006 8227, or send your enquiry to sales@ukradiators.com and we'll be in touch.