How To Fix Common Radiator Valve Problems
How Do Radiator Valves Work?
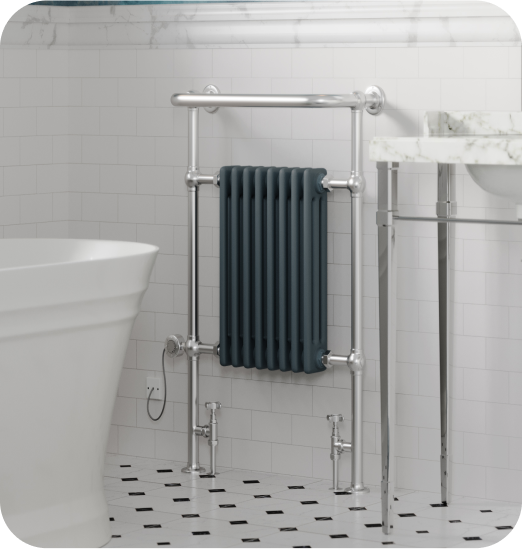
First, let’s jump into the basics and how each radiator works to understand why your valves might not be working. Solving your radiator valve problems depends on the type of valve you have installed. These are the main types of radiator valves:- Thermostatic radiator valves. These valves are more of a modern version of typical manual valves. They include mechanisms that either use liquid or wax to shut off the flow of hot water to individual radiators when your room has been warmed to the set temperature. They're essentially like having a mini boiler thermostat control in each room!
- Manual valves. Manual valves are more of the standardised version of thermostatic radiator valves and are installed on older heating systems. They’re typically used when a radiator is positioned in the same room as your boiler control thermostat.
- Lockshield valves. Now, this valve is one of the most important parts of your heating system. Every radiator must have one, especially the rooms furthest away from your boiler. These bad boys ensure these rooms are warmed up despite the distance.
What Are The Common Signs Of Radiator Valve Problems?
Now we know the different types of radiator valves, let’s jump into finding the common signs of radiator valve problems. Common issues may involve:Leaky Valves
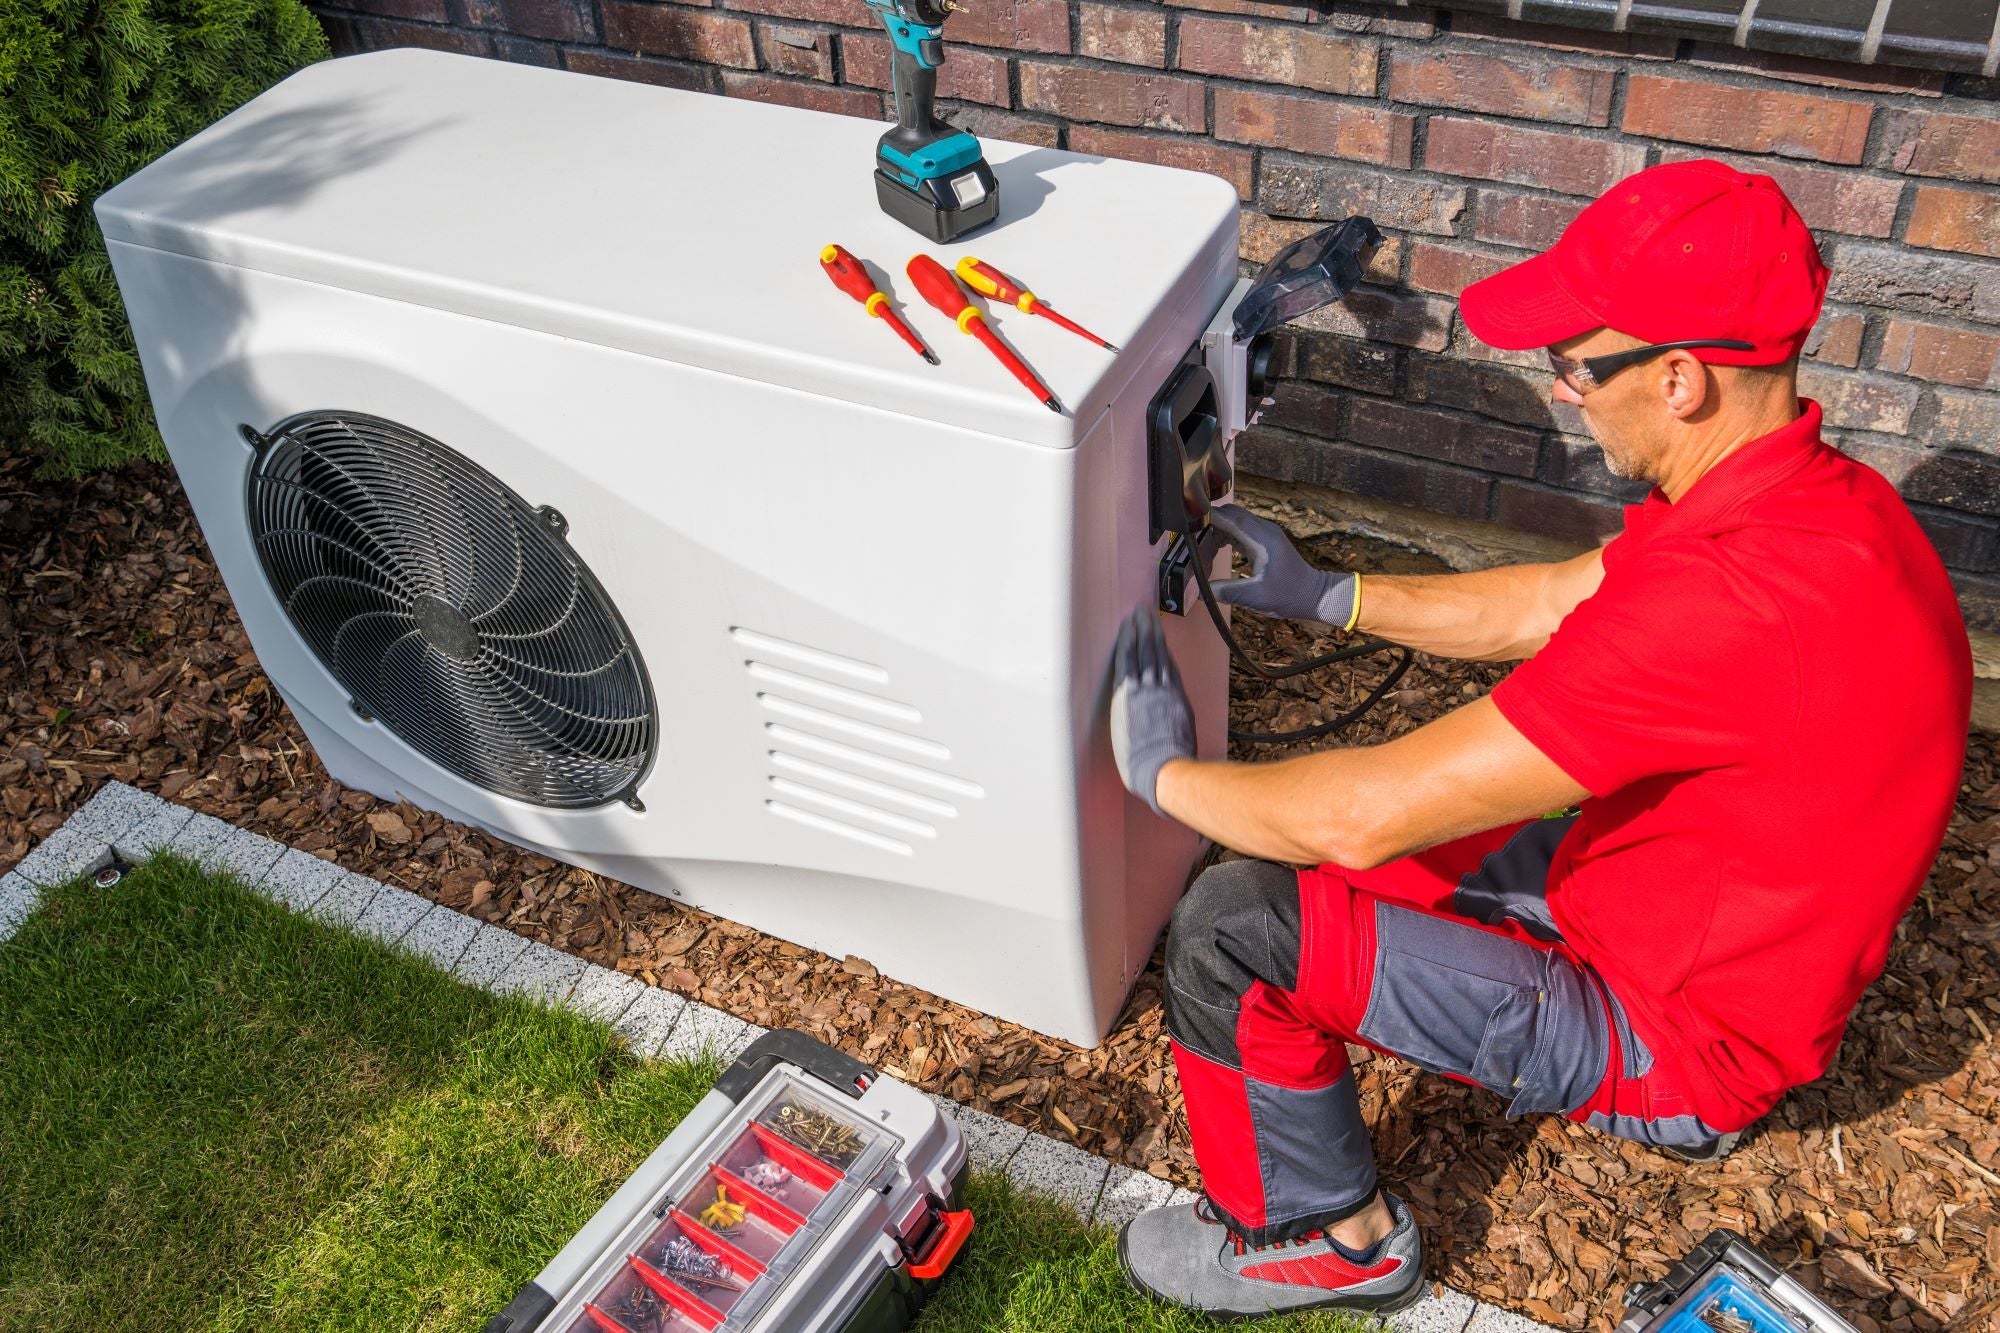
Radiator leaks can be found in numerous places on your radiator. However, your radiator valve can sometimes be the main culprit for this as you may have a faulty valve. This can happen if the internal mechanism of the valve is worn out and becomes less watertight, allowing water to leak. In some cases you may have to replace the valve, however, your valves can still be fixed without draining your heating system. Here are a few tips on how to fix each type of leak.Leaky Radiator Connection
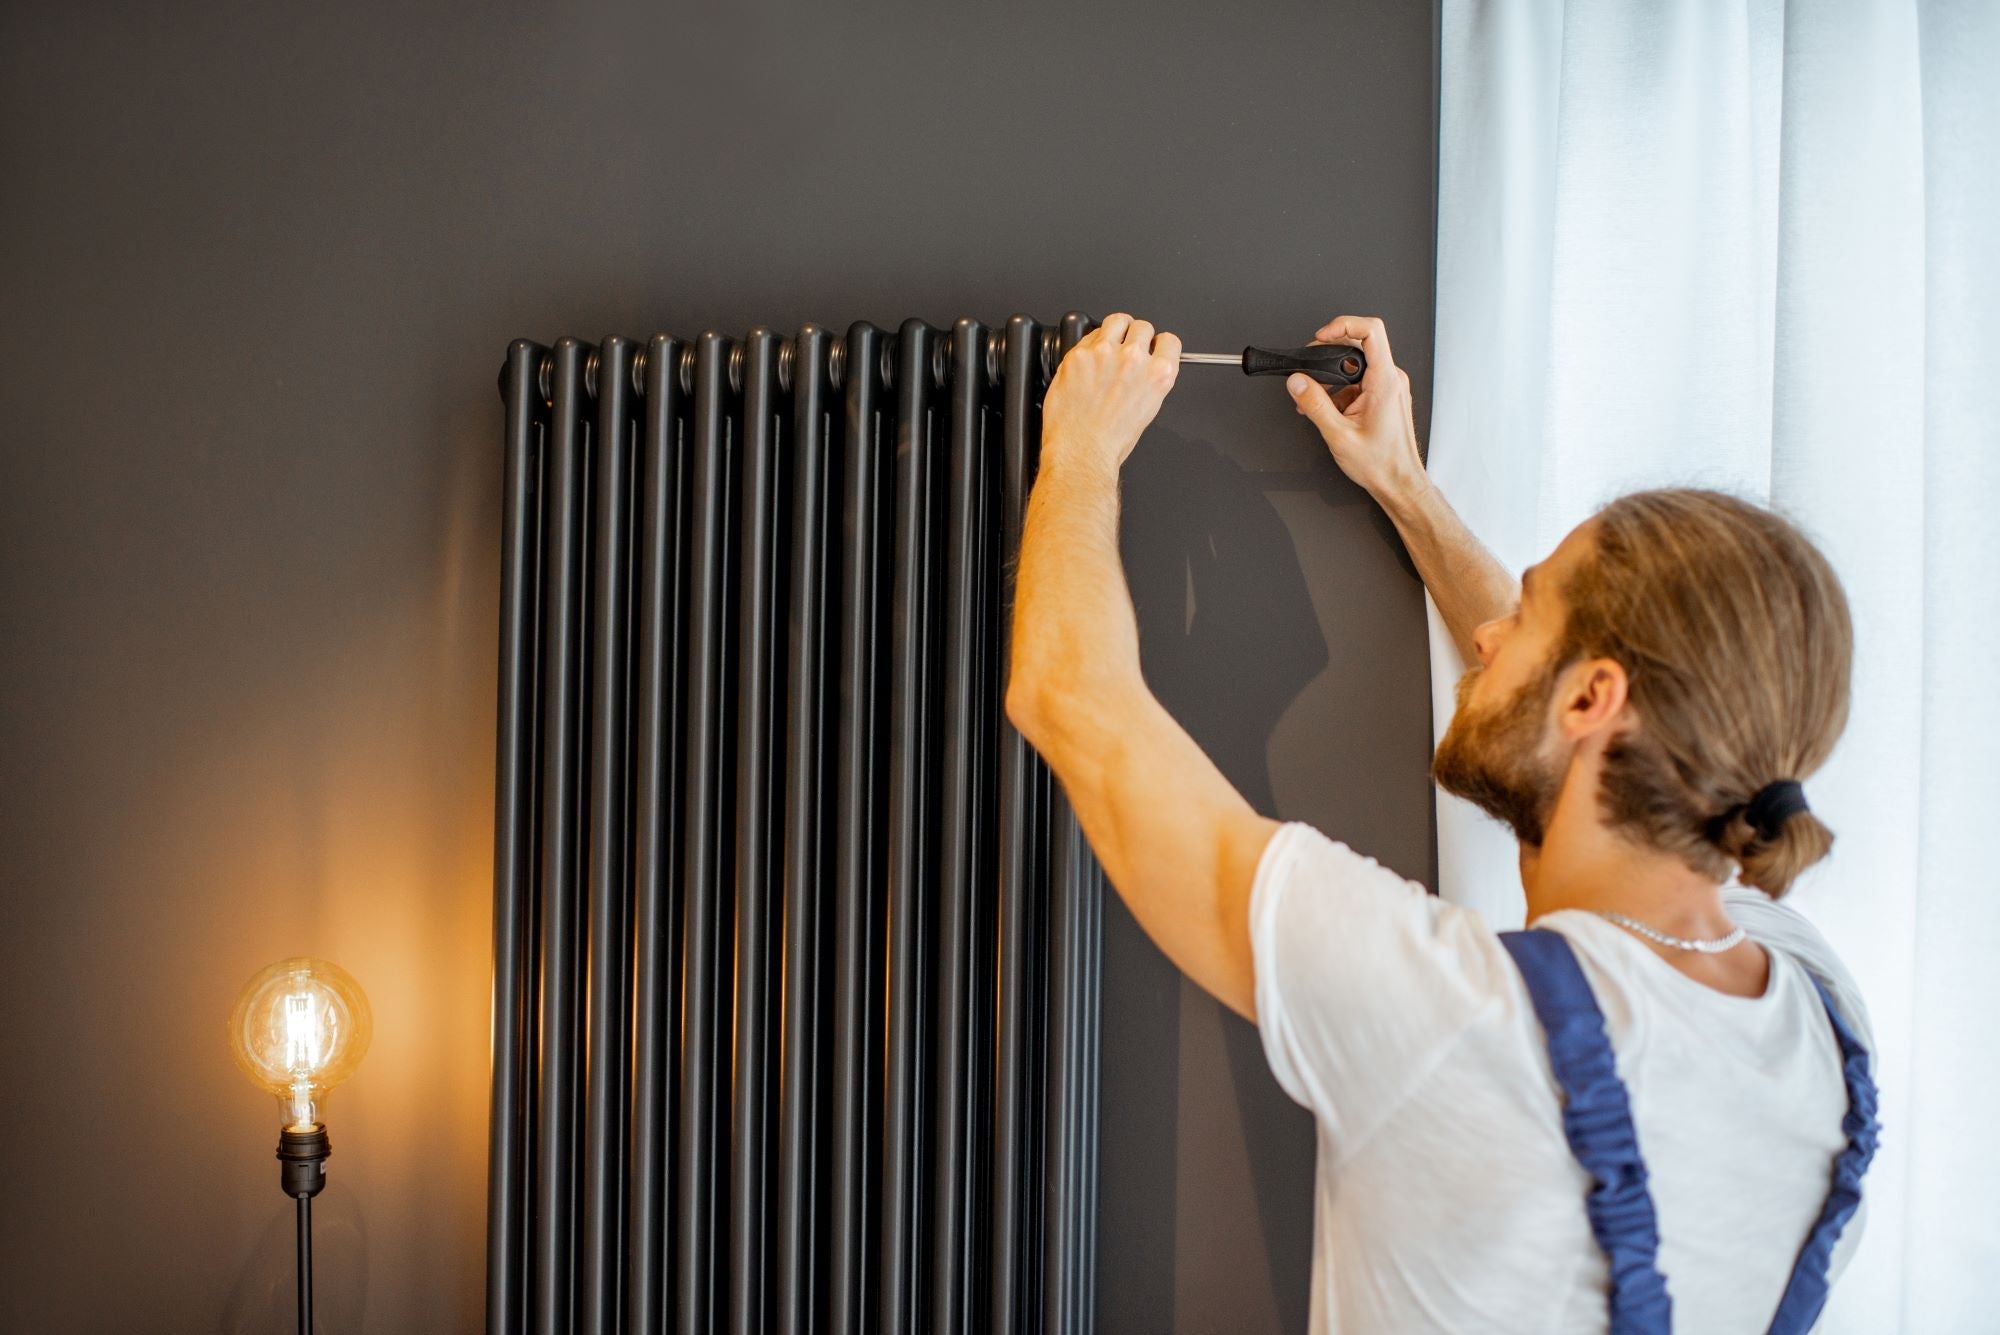
Leaky radiator connections are caused by the thread of the valve tail or the radiator itself, in some cases, we may need to replace either or both. But there are some steps you can take to try and fix (or at least temporarily fix) without draining down your whole system. First, you’ll need to isolate the radiator by turning off your valves the right way. To ensure they are switched off, you can use a radiator bleed key or screwdriver to open the bleed valve. If the water doesn't spray out, then the valves are off make sure to close the bleed valve after. With an adjustable spanner, you’ll want to slacken the union nut and start unscrewing the radiator tail. Only expose a few of the threads, otherwise, all of the water in the radiator will start to come out. Give the tail a good clean and remove any old PTFE tape. Next, we wrap the PTFE tape - there is a specific direction you need to wrap, depending on your radiator connection location. You want to wrap around the tail about 6 times, pulling tight as you go. Screw the valve tailback in and tighten the union nut. Reset your valves back to their original position and bleed the radiator until water comes out of the bleed valve. Now we have to test to see if we have fixed the leak! Dry the connection with a towel, wait a few minutes and then wipe it with a paper towel. If it's dry then, congrats you fixed the leak! If it's still wet then you can either repeat the process or it may be time to replace the valve and/or radiator. But don't worry, our vast range of beautiful radiators, towel rails and valves are here! The above is a summary of the steps and tools needed to fix a leak like this. For a full step-by-step guide (with images) and some important information on what to do if you lose too much water from the system in the process, check out this blog section.Leaky Valve Connection/Union Nut Leak
The steps for this type of leak are very similar to a radiator connection leak. You’ll need PTFE tape, a spanner, towels, a bucket and Tupperware and a bleed key/screwdriver. The main difference is that instead of unscrewing the valve tail from the radiator, you are slackening the union nut until the olive is exposed and wrapping the PTFE tape around here. Click here for the step-by-step guide!Leaky Valve Head
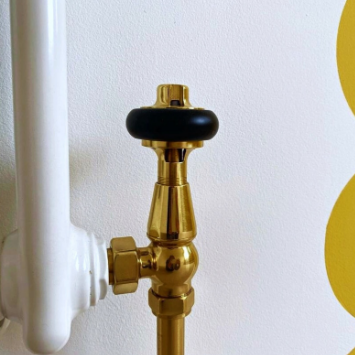
Before we try and fix a valve head we must check the warranty document, if your valve is out of warranty, then it's okay to try and fix it. But if it's still under warranty, then it's best to contact the supplier as they may replace it. You’ll need all the same equipment previously mentioned but you may also need to purchase (if you don't already have one) an isolator valve. With the other leaks, we have instructed you to turn off the valves before unscrewing and taping. However, if the leak is coming from the valve head then turning off the valves may cause the leak to get worse. If the leaky valve is on the return flow side of the radiator then you can just turn off the valve on the other side. Or if it’s on the flow side, then getting an isolator may be a better option, or for the bold, you can attempt to fix it without fully shutting off the leaking valve. Then you need to remove the valve head (usually by unscrewing) and tighten the hex a little bit. Don't over-tighten this part as it needs to be a little loose to work, we’re aiming for a bit more tension. Then test the leak in the same way we did previously. There are some other ways to fix a valve head leak but they involve dismantling the valve itself, which is against its natural design, so we wouldn't recommend it. You can find the full list of equipment and steps to follow here.A Stuck TRV Head
This is a common cause of hot water not flowing into the radiator when the TRV is set to any number or set above the frost protection or off position. The part of the valve that is stuck in the spindle is the part that opens and closes the valve to control the flow of water. Luckily it's pretty easy to fix without having to deal with any water ruining your carpets. But, it's better to be safe than sorry, so best to grab some towels and a tub to catch any water. You’ll also need a wrench, pliers and some WD40. First, make sure your heating is off, set the TRV dial to the max and then you can remove the valve head (by unscrewing it). Apply some WD40 to the spindle (or pin) and tap the side of the valve or use the pliers to wiggle the spindle until it's no longer stuck - you should be able to push it in and out with ease. Then re-attached the valve head. See, easy peasy! Now pop your heating back on and move the TRV dial to your desired setting. If after a while the radiator still isn't heating up then you have two options, either try these steps again or it may be time to replace the valve. The list of equipment and specific steps to follow is here.Lockshield Valves and Balancing Radiators
Do you have radiators in your home that are colder than others despite the valves being set the same? The problem is most likely heat distribution or lack thereof. You need to balance your radiators and your trusty lockshield valves are going to help you do this. We have a comprehensive guide on balancing radiators, but in short, you use the lockshield valves to push the flow of heat from one radiator to another instead of back to the boiler. Most people think that lockshield valves are the not-so-handsome additional part to a TRV valve and don't know what their purpose is. Maybe occasionally they turn them, like you would a manual valve or TRV in the hopes of getting more or less heat from the radiator, and then one day realise then 2 out of their 5 radiators are cold and they have no idea why. So, you see, that insignificant valve that you may not have understood, is playing a very important part in keeping your whole heating system running efficiently. The moral of the story … don't mess with the lockshield valve unless you know what you're doing, or are following one of our how-to guides!Turning TRV up but the Radiators Not Getting Warmer
While TRVs are like having mini thermostats in every room, they don't control your boiler as the main thermostat does. As an example, if your main boiler thermostat is set to 20 degrees and your TRV dial is set to 3 but the room feels cold. There is nothing to stop you from turning the TRV to 5, but the room probably won't get any warmer. But why? This is because the boiler will turn off when the room with the main thermostat reaches 20 degrees, not when every room in the home reaches 20 degrees. So instead of thinking of TRVs as a way to increase the heat in a room, we should think of them as a way to prevent the room from going above a certain temperature. A spare room that's rarely used may have the TRV dial set to 1 (around 12°C) or 2 (around 16°C) so that it gets a bit of heat but you're not wasting energy on a vacant room. Our advice would be to have your TRVs in the used room set to the number that corresponds with the temperature set on the main boiler thermostat (for example 20°C). If you/your room is cold, then turn up the main boiler thermostat so that the boiler and radiators work to heat to that temperature. Of course, if your rooms aren't heating up correctly and the TRVs are set correctly, then you may have one of the following problems: a broken or stuck TRV, your radiators need balancing, the radiator is too small for the operating boiler temperature, or the manual valves in the room with the main boiler thermostat are not set correctly. We hope our helpful guide has given you an idea of how to make your chrome radiator look brand new again! If it’s time to say farewell to your current valves, then find the perfect replacement set in our wide selection of exceptional radiator valves.