Why Are Radiators Cold at the Bottom?
It’s important that you keep an eye on your radiators and regularly maintain them. Otherwise, you can encounter problems with heating your home, such as your radiators being cold at the bottom. But, how do you solve the issue without forking out money for a plumber?
Luckily for you, we’ve got the answers in our blog below. Read on to find out why radiators get cold at the bottom, ways to solve it, and how to prevent it from happening in the future…
If you'd like a little more guidance before making a purchase, please get in touch with our expert team here.
So…why are radiators cold at the bottom?
If your radiator feels cold at the bottom, but warm in other parts, it will likely mean that the water that heats the radiator is having trouble moving around its internal workings.
Usually, this inability to reach the entirety of your radiator is because of radiator sludge.
What is radiator sludge?
Radiator sludge is the result of your radiator’s materials interacting with the water that heats them up. Typically made from iron or steel, this water passes through every day - creating iron compounds, as well as limescale and other mineral deposits.
As time goes on and these deposits get bigger, it can create a blockage within your radiator and prevent spots from heating up - hence why your radiator is cold at the bottom.
How do you get rid of sludge in your radiator?
Sludge can be contagious and often affects more than one radiator on the system, if this is the case for you, we would recommend contacting a professional. If you’re experiencing sludge build-up in just one radiator, you can fix it by following the below steps:
1. Avoid turning the temperature of the radiator up
Before you take on your radiator sludge, ensure you avoid turning the thermostat up. We advise against increasing the temperature as this makes your boiler work overtime, making it run less efficiently. Due to the heavy formation of sludge, the increased temperature will still prevent your radiator from heating effectively.
2. Isolate the radiator and turn off the valves
When you’re ready to remove your radiator sludge, you must begin by turning off your heating system and isolating the radiator affected. This way you can directly manage the radiator with cold spots, and also avoid getting burnt. Turn the thermostatic radiator valve down to zero (if you have one) - and use a spanner to close the lockshield valve.
3. Prepare for a mess
Next, prepare for the mess that is likely about to happen. Lay down some old bedsheets that you don’t mind being stained, as well as some old towels to soak up any liquid. Place a bucket under the connector nuts to catch the water in its entirety.
4. Drain the radiator
Now you’ve prepared for any mess, it’s time to drain the radiator. Firstly, turn the radiator nuts to loosen them, then open up the bleed valve with a bleed key - this is located at the top of the radiator. Air will start to flow through the radiator and water will come out of the loosened nuts.
5. Flush the radiator
Once you have allowed the water to drain, undo the valves and remove the radiator from its brackets - now you can flush the radiator outdoors to remove sludge. Use the garden hose and attach it to one opening of your radiator - once the water comes out clean on the other side, you have successfully removed the sludge.
6. Reconnect the radiator
Finally, dry the radiator off and reattach it to the brackets, then return the valves back to their previous, tightened position. Water will fill up the radiator straightaway - so ensure you’re ready to close the bleed valve as soon as the water begins to escape. Once the heating has warmed up the radiator - check that it is being heated in its entirety. If it is, you have successfully removed the sludge!
How do you prevent sludge in your radiators?
If you’ve just replaced your radiators with brand-new ones, the idea of them being filled with sludge has probably got you worried. However, there’s no need to fret, as there are several ways you can prevent sludge from mounting up within your radiators.
Use central heating additives
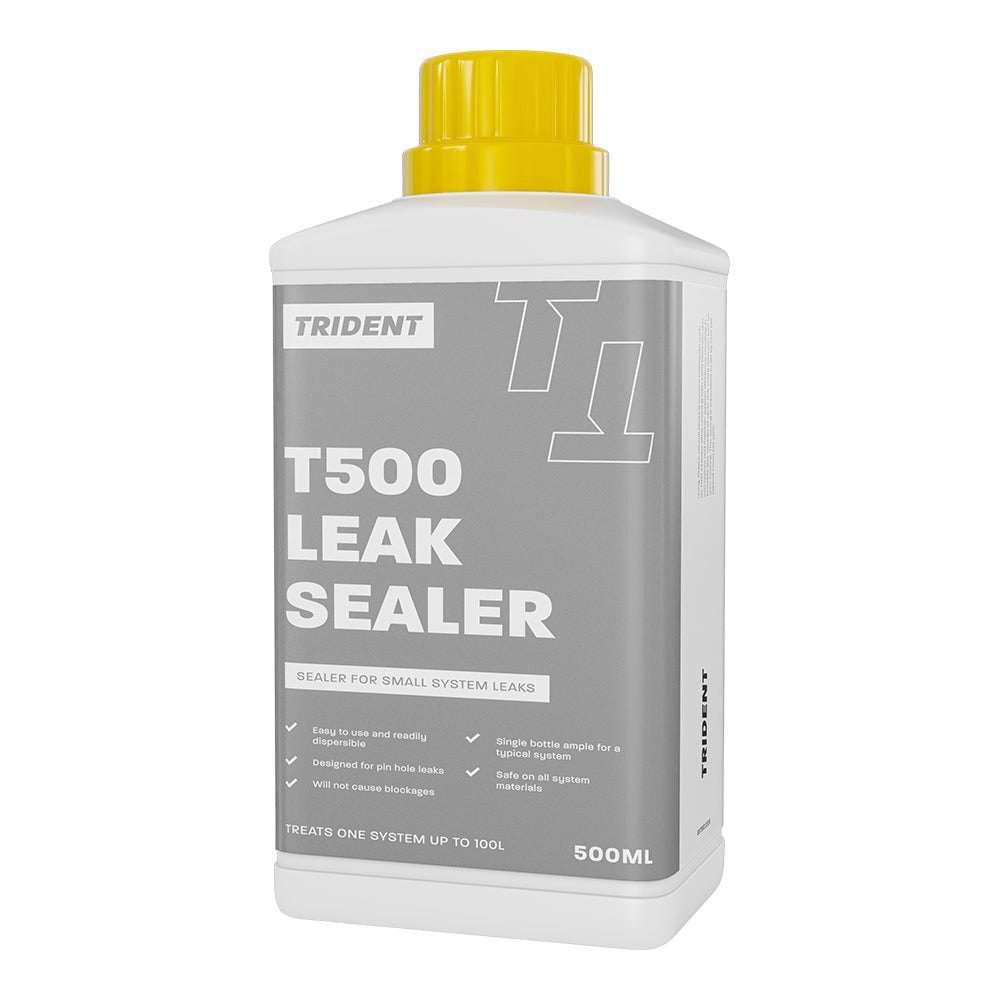
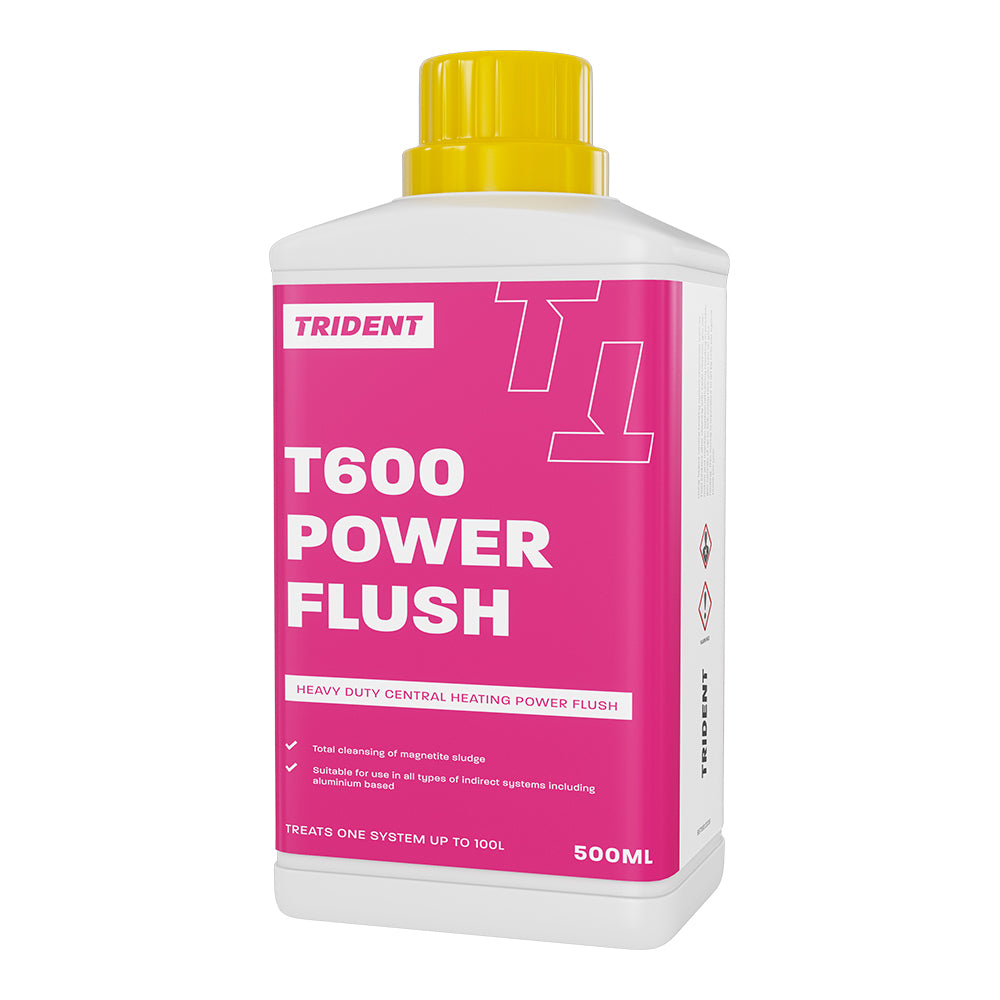
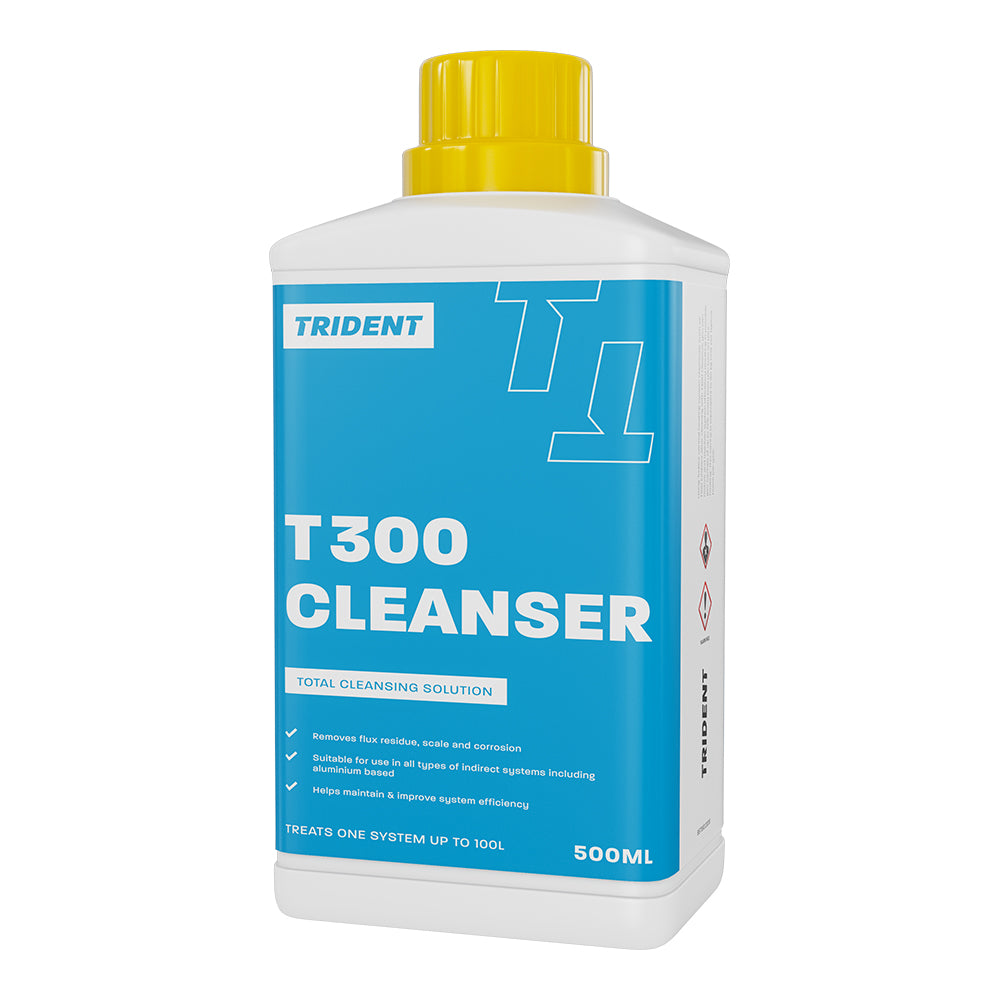
Help to keep your system in good condition by using additives like the our range of Trident products, including sludge remover, power flush and cleanser.
Frequently check the water
To prevent sludge build up, ensure you frequently check the water within your central heating system. To do so, you can use a water testing kit, which will offer recommendations to improve your water quality. For example, it might suggest flushing the system or using chemical treatments.
Organise regular servicing
Ensuring you maintain your radiators and properly look after them is one way you can prevent radiator sludge. Ensure you organise annual boiler servicing, as well as frequently bleeding your radiators to ensure the water can travel around freely.
Keep Your Radiators Running Like New With UK Radiators
If you’ve had your radiators a long time and have tried everything to ensure they work more efficiently - but are having no luck, then it might be time for a replacement.
Luckily, at UK Radiators, we have a variety of radiators for you, in an extensive range of colours, types, and styles. What’s more, our prices vary - so if you’re on a budget and looking for a high-quality radiator without the high price tag, we’re sure to have something for you.
It’s our mission to help you get the best from your household heating systems. To get in touch with our friendly team, give us a call on 0333 006 8227, or send your enquiry to sales@ukradiators.com.


