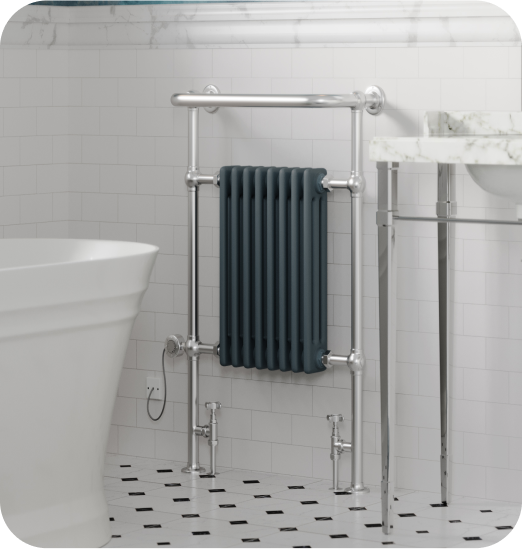
Copper pipes, as vital as they are, can be an eyesore. They often clash with your decor and can discolour and oxidise quickly, giving them an unattractive hue. It’s usually best to cover them up to help them fit in seamlessly with the rest of your radiator and home decor. One of the most popular ways to do this is to paint them. Don’t know where to begin?
UK Radiators is here to help you choose the right paint, teach you how to apply it, and even offer solutions for alternatives. Read on to learn how to paint your radiator pipes.
Choosing the right paint
Because the pipes of your radiator become hot when in use, the paint you use should be fit for purpose. Normal emulsion paint can be used, but it will crack and flake off over time so you need to make sure you’re finding the best paint for the job. You can also use an undercoat and gloss but the gloss can be smelly and a lot of effort to apply. Instead, you’ll want to find a good quality radiator paint that gets good coverage and can withstand the heat from the pipes. The best paint for radiator pipes will:
- Be heat resistant
- Cover first time
- Be a hard enamel paint
Look for a good quality speciality radiator paint to see the best, longest-lasting results.
How to paint radiator pipes
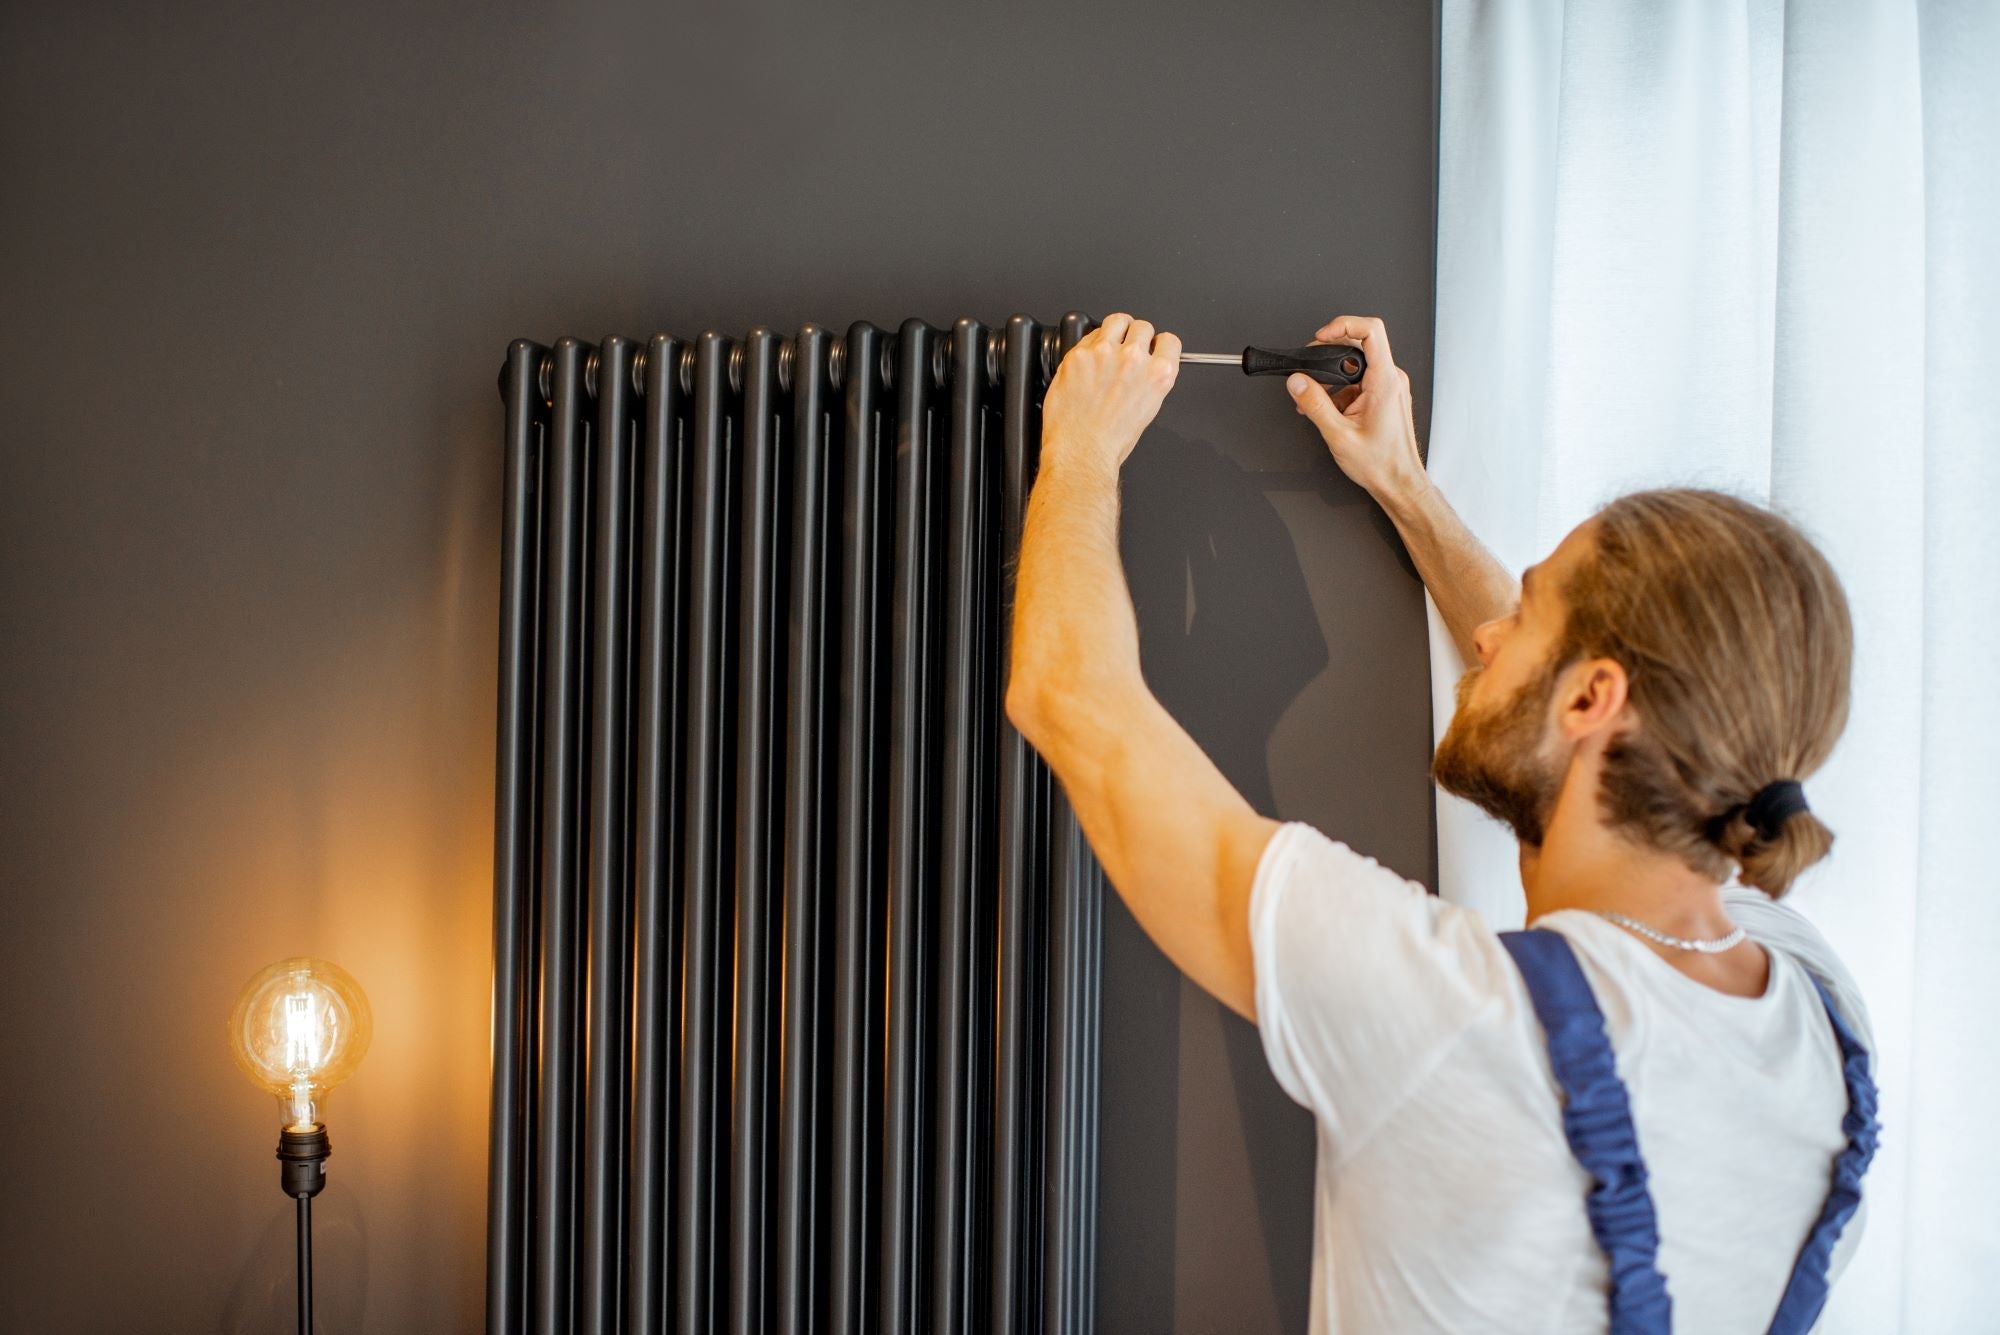
Although it may seem daunting, painting your radiator pipes is actually an easy task that only requires a
small amount of prep work. First, make sure the radiators are off. Then, clean the pipes with a degreasing cleaner such as dish soap or sugar soap to ensure the paint will apply evenly. Next, give the pipes a good scrub with some wire wool. This will give some texture to the surface of the pipes and ensure that the paint has a good surface to adhere to. After this step, give the pipe a wipe over with a damp cloth to remove any dust and filings and allow it to dry completely before moving on. Third, spread out a dust sheet beneath the pipes to protect the floor against drips. You’re ready to start painting! Using a brush, apply the paint lengthways up and along the pipes. Don’t go side to side as that’s how drips appear and you may flick paint to places it doesn’t belong. Go slowly and make sure it’s applied evenly all the way from the floor to the valve. Allow the paint to dry fully before you turn the radiators back on (due to this, you may want to take on the task during the summer months). Repeat for any and all radiators around your home!
Alternatives to paint
No longer interested in taking on the task of painting the pipes? There are some easy alternatives to painting pipes that you can consider. Beyond simply hiding them away behind skirting boards, you may want to think about covering the pipes with radiator pipe covers instead. These metal sleeves are available in a variety of different colours and are easy to install. They’re an affordable, low-effort way of hiding unsightly pipes and your plumber can cut them to any length you need when installing your radiators. Browse our full
range of radiator pipe covers to find the perfect fit.