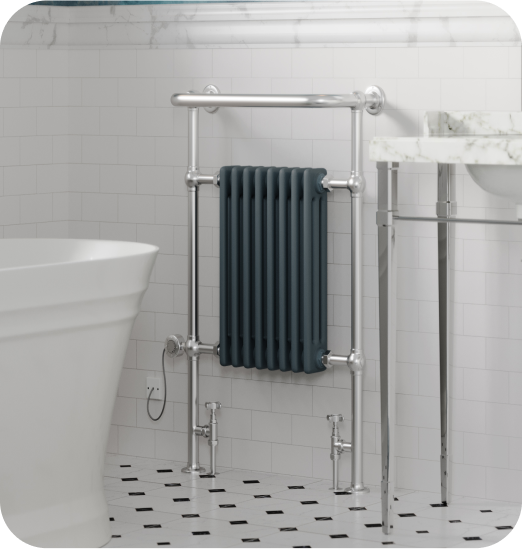
If your radiators are feeling a little cold to the touch or are making clunking sounds as they warm up, there could be trapped air inside. Usually, bleeding the radiators prevents this from happening again for a few months, however, if you have a damaged radiator bleed valve, it could become a more serious problem. If this is the case, you will need to replace the bleed valve. Alternatively you may have opted to upgrade your bleed valve to a coloured one from our
Talus range, or purchased one of our
automatic bleed valves so you no longer have to manually bleed your radiators! Read on to learn how to replace a radiator bleed valve without the need to call in the plumbers.
What is a bleed valve and why would you need to replace it?
Depending on the model and age of your radiators, you can find many different types of bleed valves.
Bleed screw
Sometimes found on older radiator models, a bleed screw doesn’t have a valve to replace or remove. Instead, you will find a small screw on its own. They’ll be in different locations depending on the radiator but will commonly be found at either the top right or top left. It is possible to replace these but more often than not when you have a problem with one of these, it's time for a new
radiator instead.

Screw valve
This type of valve looks like a large nut with a screw in the centre. You can bleed the radiator by inserting a screwdriver into the slot and turning it to loosen it

Key valve
The key valve is one of the most common types of bleed valves. They often have a square in the centre of the valve and require a radiator bleed key to let the air out. These - along with the screw type valve - are typically located at either end of the radiators, at the top and the opposite side will feature a blanking plug. Leaking radiators, stuck bleed valves, or simply wanting to upgrade to an AutoVent bleed valve are all reasons why you might want to replace the bleed valves on your radiators.

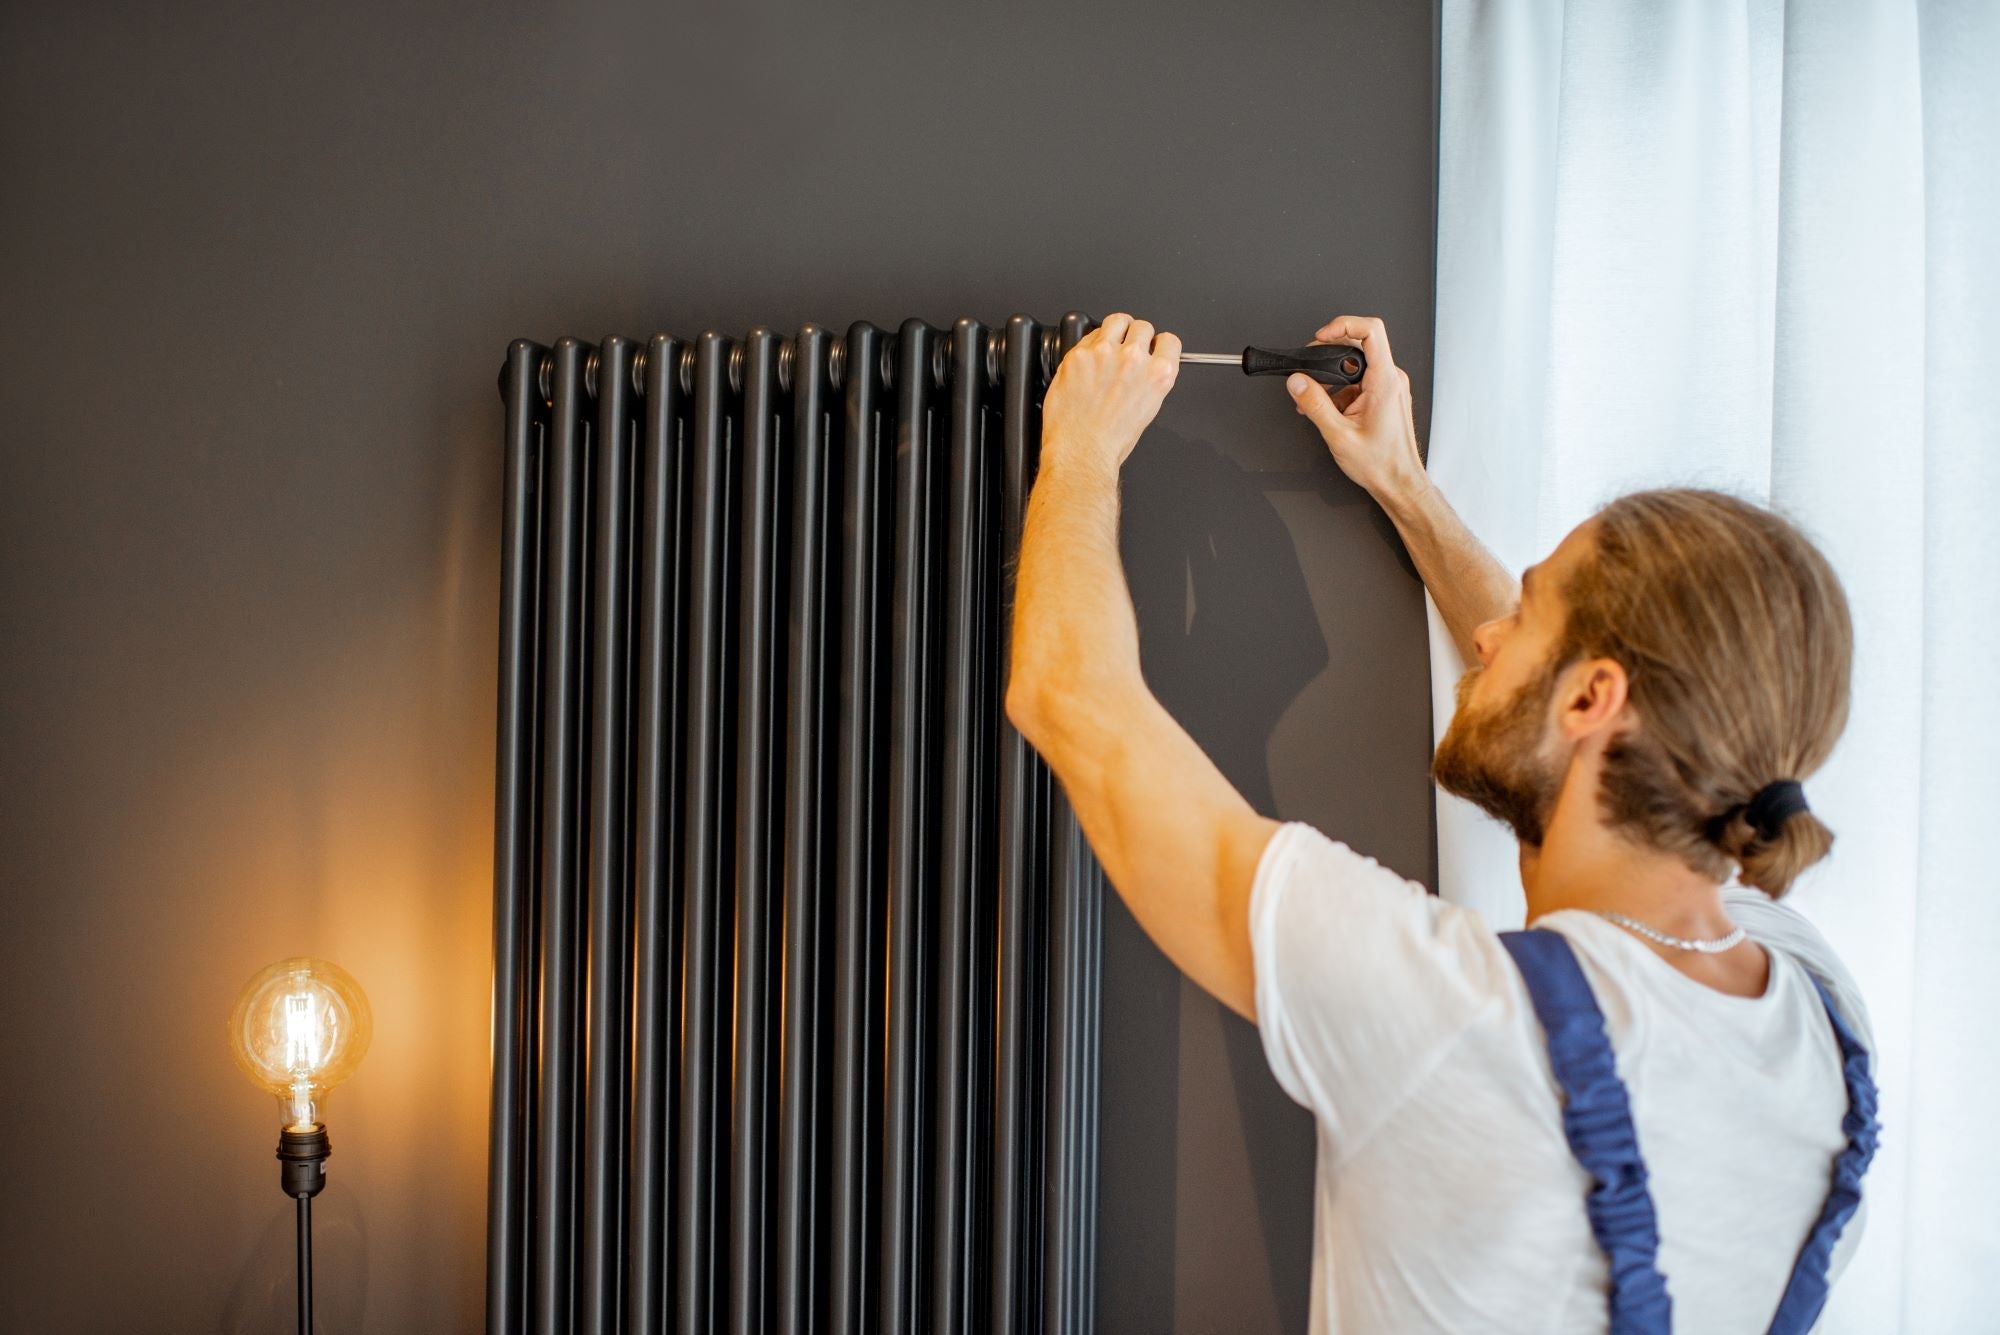
How to change a radiator bleed valve
The bleed valve is one of the easiest valves to change on a radiator - no need to drain the system or the radiator - and shouldn’t take more than 10 minutes. You just need to know a few trade secrets. Be prepared: It’s likely that there will be a little bit of water loss so preparation is key. Make sure you have all of the tools you need before you begin.
What You'll Need:
- Large Bucket
- Something flat and deep to catch water, like a paint tray, old oven dish or tupperware.
- PTFE Plumbers Tape
- Adjustable Spanner
- Some old Towels
- Radiator Bleed Key
- Screwdriver
- Isolator – Installed if you needed one
Step 1: Isolate the radiator
Before you begin, you’ll need to correctly turn off all the valves to ensure you isolate the radiator from the rest of the system. To do this, locate the lockshield valve and turn it clockwise to turn it off. The lockshield valve is on the water return pipe that allows the water to flow from the radiator back into the heat. Make sure you count your turns as you’ll need to reverse them later on. Manual valves are another type of valve on your radiator. These are located on the flow side of the radiator and allow hot water to be delivered from the heating system to the radiator. Take note of the setting before turning it clockwise to turn it off. If you have a thermostatic radiator valve (TRV) on your radiator, the process of isolation is a bit different. Ideally you would remove the thermostatic radiator valve head (usually just by unscrewing it) and use the decorator’s cap (a small plastic cap) that was supplied with it to turn it fully off. If you don’t have the decorator’s cap, you may be able to just get away with turning the TRV all the way down to the lowest setting as far as it will go. You may find that some water still comes out this way but there shouldn’t be too much. Alternatively, you could get an isolator to help ensure a tight seal.
Step 2: Prepare the new valve
Take your PTFE tape and hold the new valve with the head facing you and the thread facing away from you. Wind the tape around the thread of the fitting four or five times in an anti-clockwise direction.
Step 3: Remove the old valve
Prep the area to catch water. When you remove the old valve, the water will find its level. Meaning that the radiator will drain only as far as the bottom of the bleed valve level. Set up old towels and a flat tray to catch any drips. You’ll want to work fairly quickly once the old valve is removed, especially if you weren’t able to isolate the radiator fully. If you have a bleed screw, then you need to use the screwdriver or radiator key to unscrew it anti-clockwise to remove it. For a bleed valve, use the adjustable spanner around the outside of the valve and unscrew it in an anti-clockwise direction and remove.
Step 4: Install the new valve
For a bleed screw, screw it in clockwise. For a bleed valve, screw it in by hand to begin with then use the adjustable spanner around the outside of the bleed valve to tighten it, turning clockwise.
Step 5: Reset the valves
Remember the number of turns you counted on the lockshield? You now need to turn the lockshield valve on the return pipe back to its original position. If you have a manual valve on the flow pipe, you also need to turn this back on but if you have a TRV on the flow pipe then just reverse the steps you took to turn it off.
- If you used a decorators cap, you need to remove this and replace the TRV head
- If you just turned it off and worked quickly, then turn it back on
- If you used an isolator, turn it back on
Step 6: Check for leaks
If the new bleed valve is leaking, try tightening it a little more with your spanner. If it continues to leak, go back to step 1 and be a bit more generous with the PTFE tape. If that does not solve the issue, then unfortunately it may be that the thread inside the radiator has worn down. In that case it may be time to replace the radiator. If you purchased an AutoVent valve, you don’t need to do anything - hooray! For manual bleed valves and screws, you will need a towel in hand to catch any water.
- Bleed screw – use the screwdriver or radiator key to loosen it a bit anti clockwise until water comes out then tighten.
- Screw type – use the screwdriver on the centre nut, loosen a bit anti clockwise until water comes out, then tighten clockwise.
- Key type – using your radiator key, loosen the centre nut anti-clockwise until water comes out, then tighten it clockwise.
You may need to top up the system to get it back to the correct pressure and turn the heating back on. Check that the radiator is evenly hot at the top and if not, turn the heating back off and let it cool completely before trying to bleed again. If you have an AutoVent valve though, refer to the manufacturer’s instructions. Congratulations! You’ve just changed your radiator bleed valve! When it comes to finding the perfect replacement bleed radiators, UK Radiators is the place to come. We have a huge range of
radiator bleed valves for you to choose from to fit any radiator. For more help, information, and inspiration for the radiators in your home, check out the
How-Tos section of our blog and enjoy your nice, warm radiators.