How to Replace a Radiator in 10 Simple Steps
If you're looking to find out how to replace a radiator, you've come to the right place. At UK Radiators, we understand the importance of a well-functioning heating system.
As experts in central heating radiators, we're well-positioned to guide you through the process of replacing your own.
This is so you have some control over swapping out your old unit as well as a sense of accomplishment once your brand-new one is up and running.
Feeling up to the task?
How to Replace a Radiator - Your Step-by-Step
Here is an easy-to-digest, 10-part step-by-step guide on how to replace a radiator.
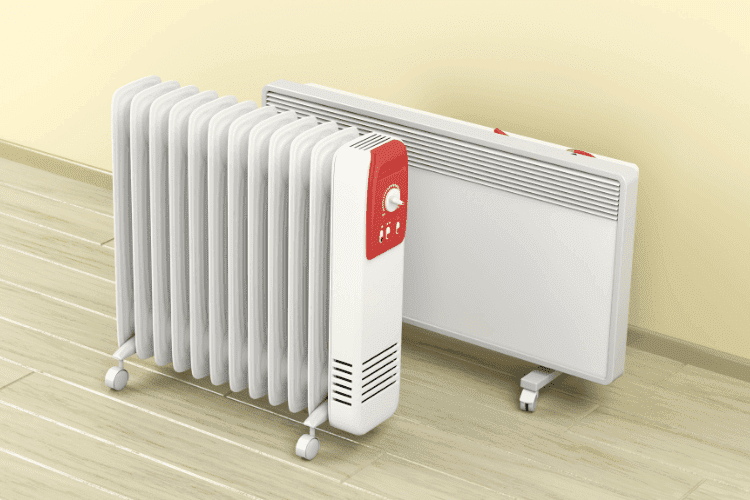
Step 1: Assess Your Heating Unit
Before diving into the replacement process, assess your heating system. Take note of the type and size of your current radiator, as well as its location and connections. The easiest way to replace a radiator is to choose one with identical pipework to the previous radiator. If this isn’t the case, you’ll need to enlist the help of a plumber to reposition your new valves.
Ask yourself if you're looking for a like-for-like replacement or looking to upscale or downscale the size of the radiator.
Does the current size and output sufficiently warm your room through?
Is the placement of the original where you'd like to have a new one or would a change of location be a greater benefit?
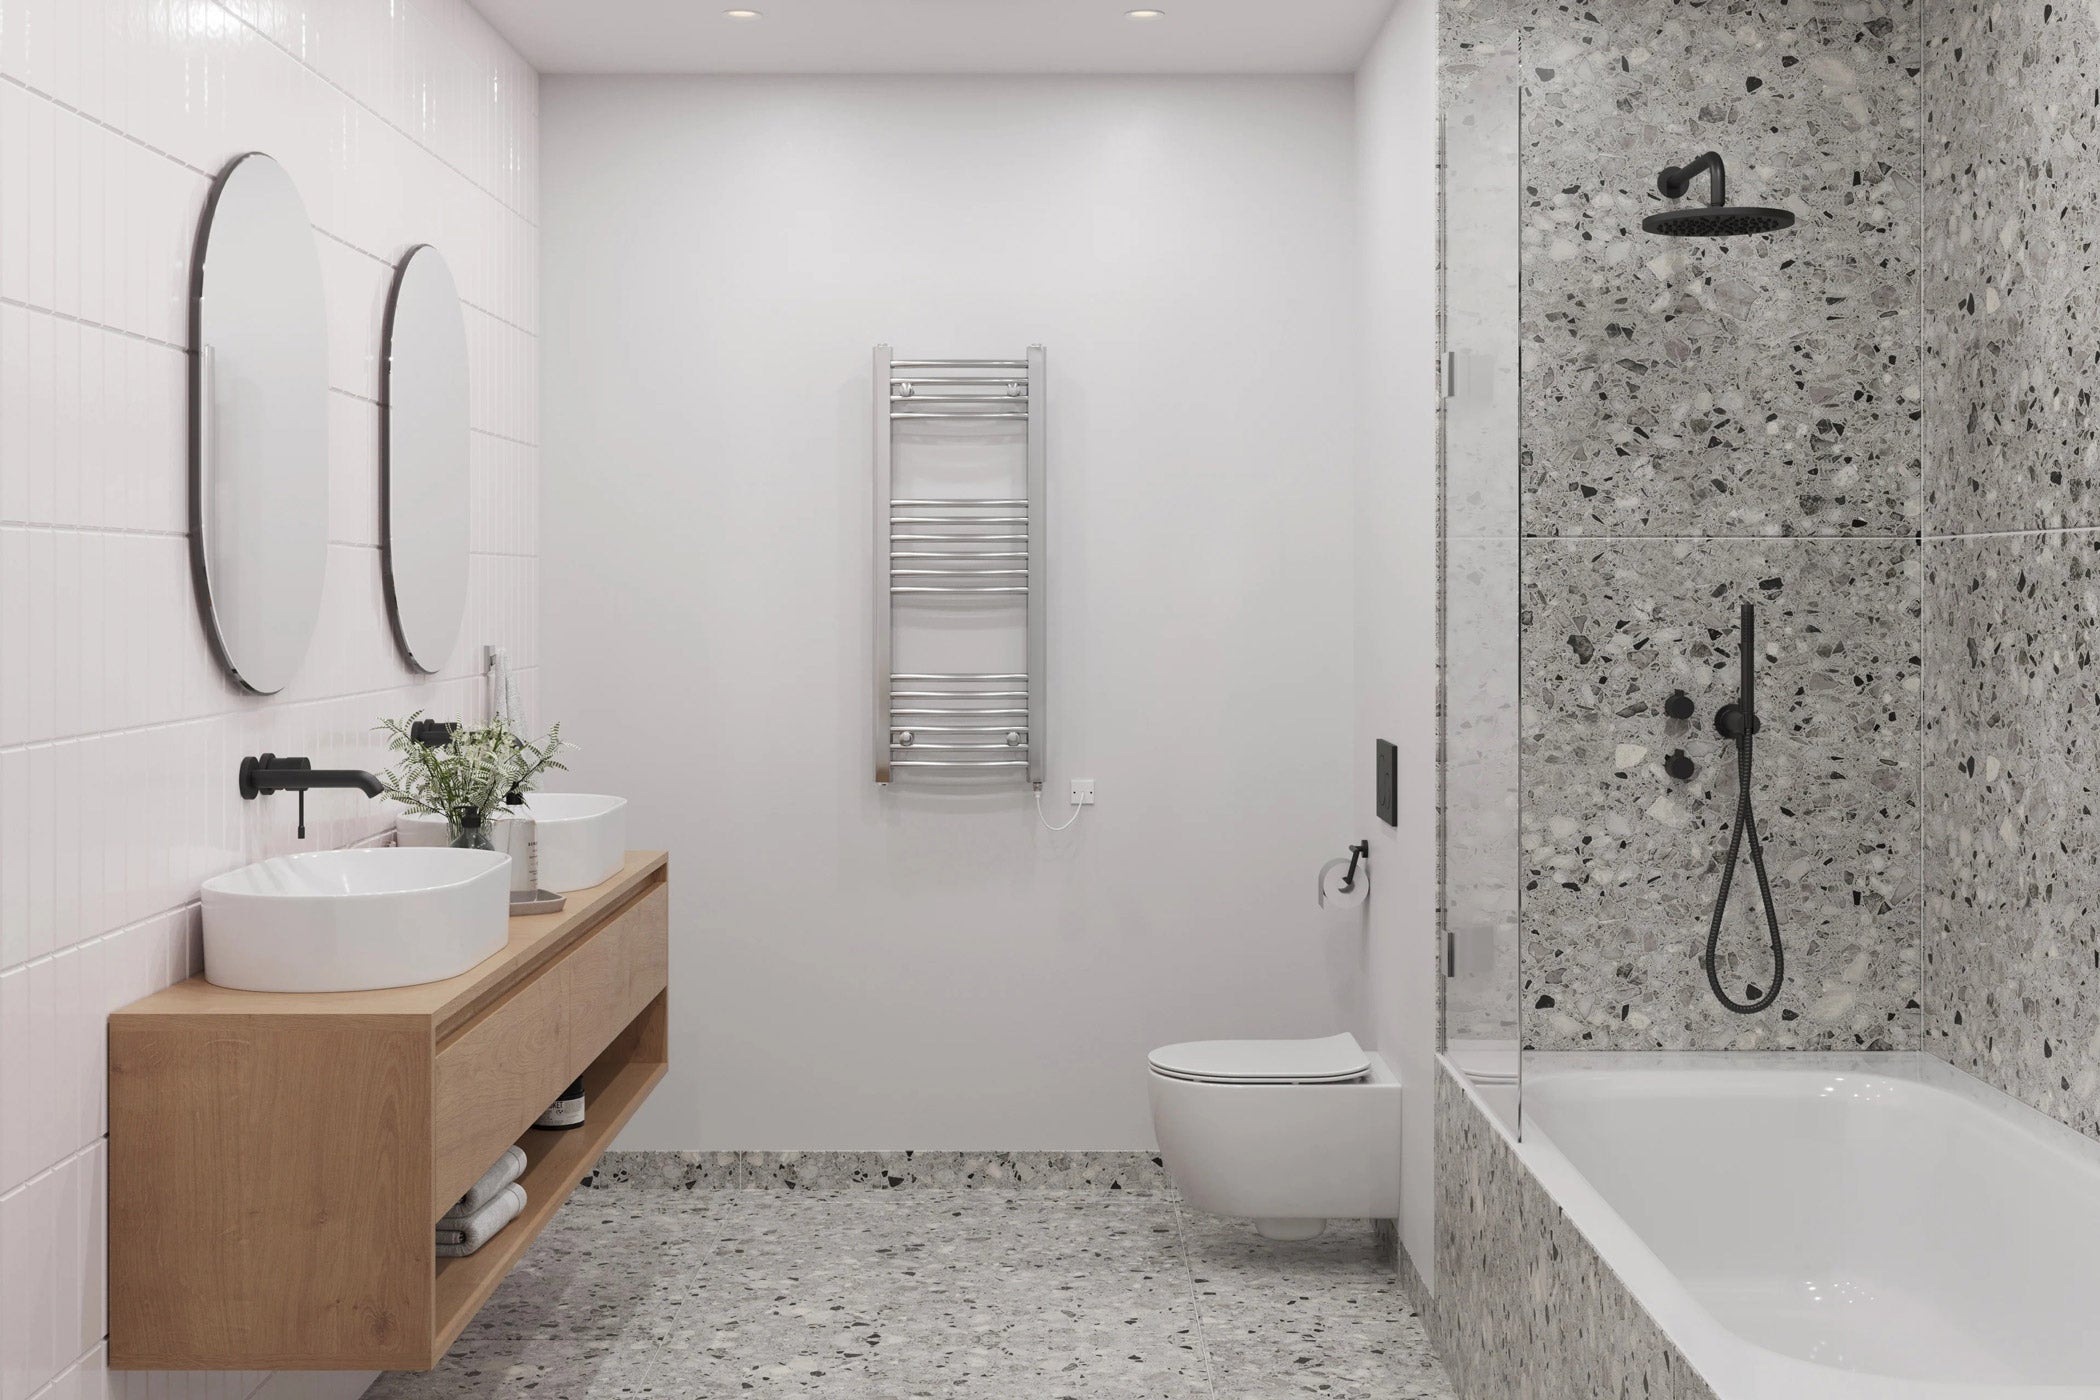
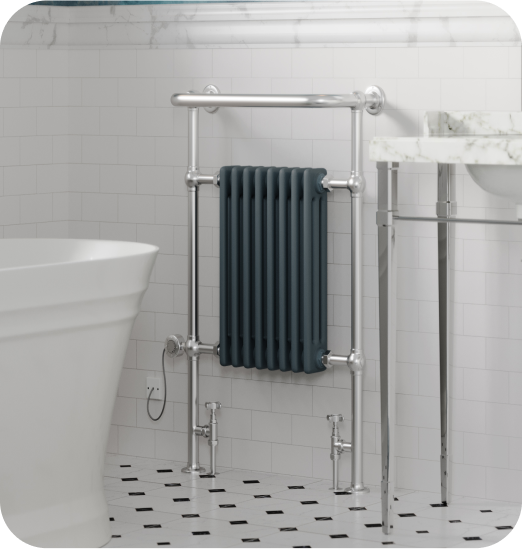
If you've yet to make your mind up and have narrow wall space, feel free to browse our selection of column radiators.
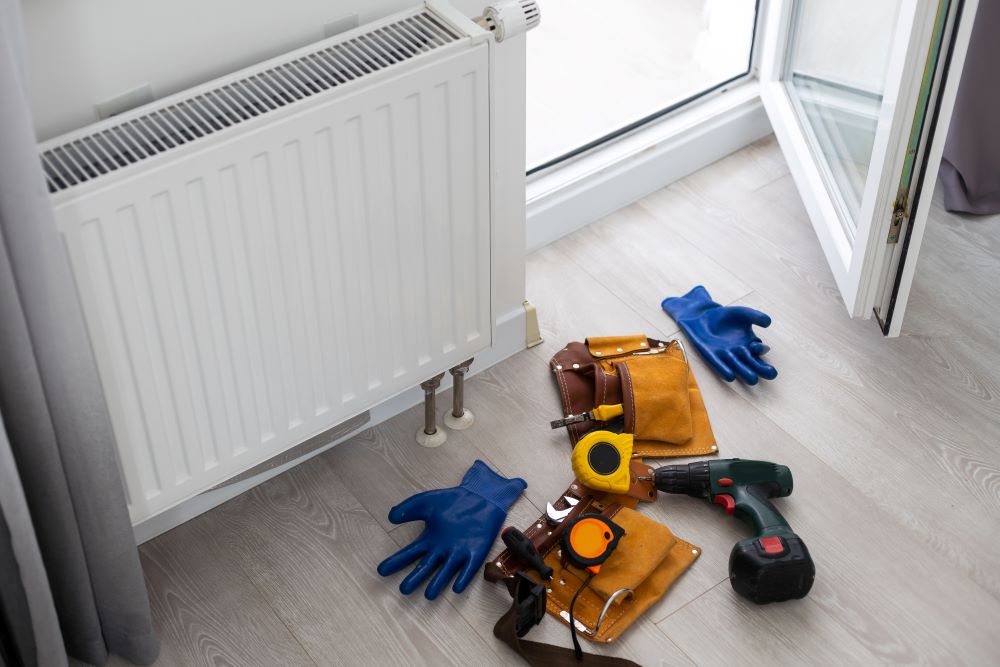
Step 2: Gather the Necessary Tools and Materials
On the matter of how to replace a radiator, not having the right tools to hand can be a common hiccup. So here are some of the tools and materials you'll need:
- Adjustable wrench
- Radiator bleed key
- Plumber's tape
- Towels or buckets for water spillage
- Your new radiator and valves
Step 3: Turn Off the Heating System
Ensure your heating system is turned off. You should be able to do this at the boiler or by using the thermostatic radiator valve.
Be sure to wait for the system to cool down before proceeding to the next steps to avoid injury.
Step 4: Drain the Radiator
Use either a radiator key or flat-head screwdriver and turn the valve anti-clockwise between a quarter turn and a half-turn to open it. Make sure you don’t unscrew it by more than one complete turn.
Allow the water to drain. Place towels or buckets under the radiator to catch any water.
Continue until all the water has drained, then disconnect the other valve.
Step 5: Remove the Old Radiator
Loosen the nuts on the valves connecting the radiator to the pipework using an adjustable wrench. Carefully lift the radiator away from the brackets, making sure to catch any remaining water.
Have a towel or bucket ready for any spills. Carrying on from the previous step, tilt the radiator on its side to assist with the drainage of the water before setting it aside.
Step 6: Prepare the New Radiator
Assemble the new radiator according to the manufacturer's instructions. Apply plumber's tape to the valve threads for a secure seal.
It’s likely that the existing brackets won’t be compatible with the new radiator, so you’ll need to unscrew these and potentially begin drilling new holes.
But before you start drilling anywhere, make sure you’ve checked what’s behind it with an electric or digital wall scanner or stud detector.
These will let you know whether there are any wires, pipes, studs or hazards where you’re planning to drill. Once you're safe to get to work, fix the new brackets and position the new radiator, ensuring it's both level and secure.
Step 7: Connect the New Radiator
Attach the new radiator to the pipework, tightening the nuts with an adjustable wrench. Open both valves to allow water to flow into the radiator.
Step 8: Bleed the Radiator
Now you've successfully replaced the radiator, you just need to make sure it's functional.
Use the radiator bleed key to open the bleed valve and release any trapped air. Trapped air in a radiator can cause cold spots which lowers its performance.
Once the water starts flowing consistently, close the valve.
Some radiators are bled differently to others - if you have any doubts, or you're unfamiliar with your new radiator - remember a team of radiator experts are here to help you get it right the first time. Just give us a call on 0333 006 8227 or send your enquiry to sales@ukradiators.com.
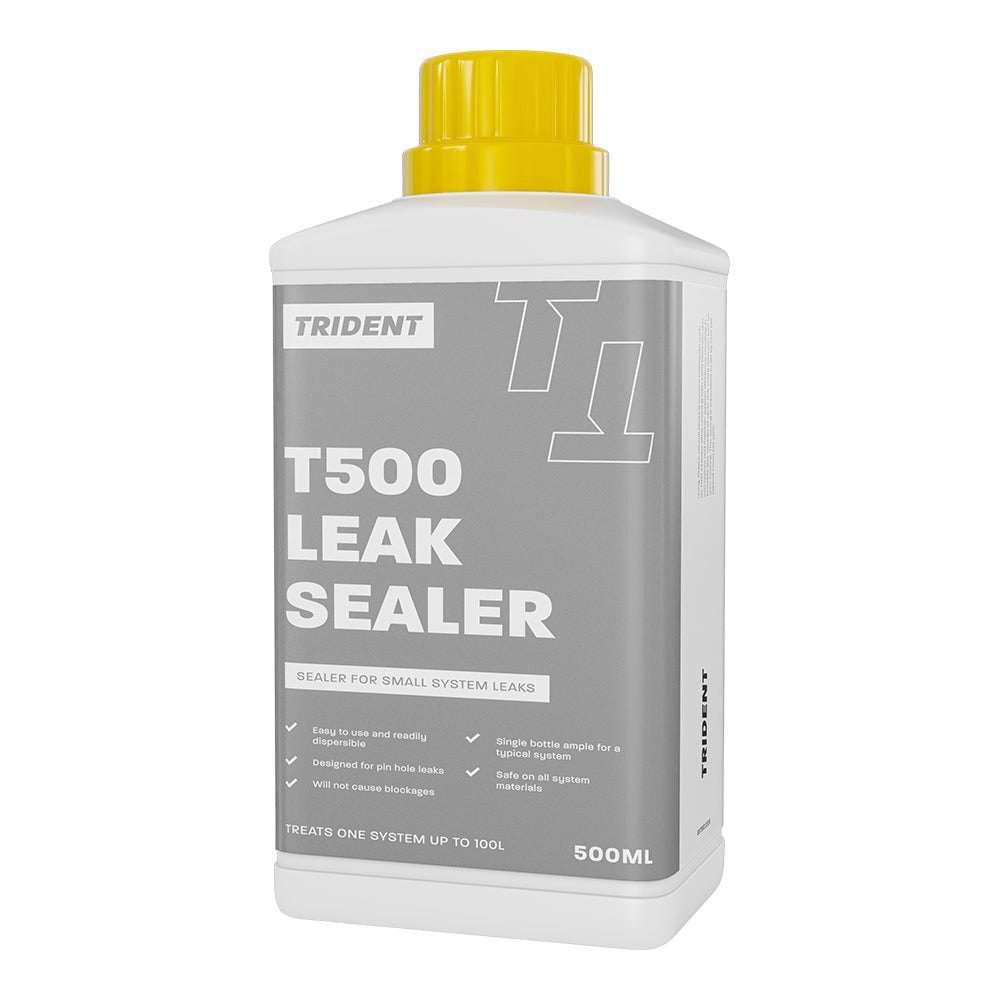
Step 9: Check for Leaks
Inspect the connections for any signs of leaks. Tighten any loose nuts and wipe away excess water. When doing your checks, skim the areas with some blue roll - this will help to highlight any moisture or drips clearly for you.
An unseen slow drip from a radiator could cause water damage to nearby objects or wooden floors so it’s best to be sure.
Step 10: Turn On the Heating System
Turn on your heating system and check that the new radiator is heating up evenly.
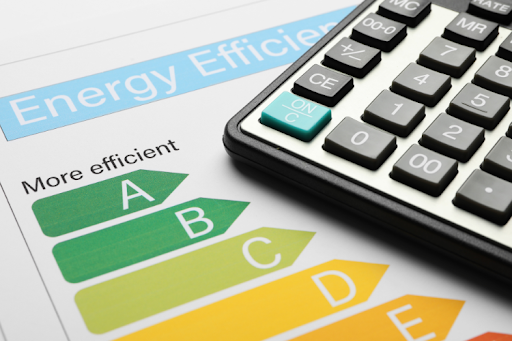
If your radiator has smart controls or a thermostatic radiator valve, adjust this as needed. Monitor the situation at the start, as your new radiator gets better acquainted with the room - if you feel the room becoming too hot too quickly, feel free to adjust the value to achieve a more controlled and comfortable temperature. This can also serve to save you money in the long run.
UK Radiators Are Here to Keep You Warm and Informed
And voila! You should have learned how to replace a radiator and successfully fitted your brand-new heating unit with (hopefully!) no stress and no fuss.
If you have any questions or need assistance in choosing the perfect radiator for your space, contact the experts at UK Radiators. just give us a call on 0333 006 8227 or send your enquiry to sales@ukradiators.com.