How To Stop Radiators From Rusting and Corroding
A common heating system scenario we find in the UK is to install and forget, we get new radiators or a new heating system, pay for installation, then we forget that like all mechanical devices, maintenance is needed. But don’t worry, we have prepared a one stop guide to help you deal with rusting and corroding within your heating system and radiators.


What is Rust and Corrosion?
For our purposes, these terms are interchangeable but technically different. It is important to understand how Rust and Corrosion works in order to identify how we manage it within our system.What is Rust
Rust is a type of corrosion, a process that occurs when Irons and its Alloys (Steel, Cast Iron etc.) reacts with Oxygen and Water, resulting in a reddish-brown flaky coat on the metal. This reaction is known as oxidizing.What is Corrosion
For our purposes, corrosion is where any metal reacts (in a heating systems case usually with oxygen) and compromises the stability of the metal. Aluminium is not a type of Iron, therefore not subject to rust, but can still react with oxygen and corrode. Now you may see online that this is a good thing for aluminium, but it is heavily dependent on water quality and whether Galvanic Corrosion may be taking place.What is Galvanic Corrosion
This type of corrosion occurs when two dissimilar metals are connected by a electrolyte, in this case water So when we think about our heating system, we have copper, brass, Iron and its Alloys (Steel, Cast Iron, Stainless Steel etc.) and Aluminium all connected via Water. The way these will react is based on something called the noble scale and galvanic series (careful when googling for further research, it is NOT common to find research for the operating condition of radiators as most research you come across is based on sea water. But it can still be useful for general understanding, just not for our specific scenario of determining which materials will impact one another on a system).Noble Scale/Galvanic Series of metals
What is a cathode - a cathode is a metal that is more noble, if one material is more noble than another for our operating condition, it will be a cathode and not corrode but rather cause corrosion in the metal that is less noble. What is an anode - this is the name for the material that is lower on the noble scale, which is the material that will corrode, the corrosion being caused by the cathode. That is a very simple explanation, while there is more to this, this serves our purpose for understanding corrosion and rusting in radiators. Copper pipes and Brass valves are quite high on our noble scale, so its likely they will always be cathodes (won't corrode but will cause corrosion) to any radiator material. Aluminium, Mild Steel and Cast Iron all live quite close together in the noble scale and will generally be anode (will corrode), as they are so close, their exact order will be impacted by other variables like water conditions and temperature. Stainless Steel is a tricky one, it could be higher than copper or it could be the lowest. It all depends on what else is going on in the system, so we will look at that in a later question “What is chemical corrosion?”. But as a rule of thumb, we would assume- Pipes (copper) and Valves (Brass) are high up in the series - cathodes (won't corrode but will cause corrosion).
- Radiators (Stainless Steel, Steel, Aluminium and Cast Iron) are low down in the series but very close together - anode (will corrode).
Chemical Corrosion and Pitting
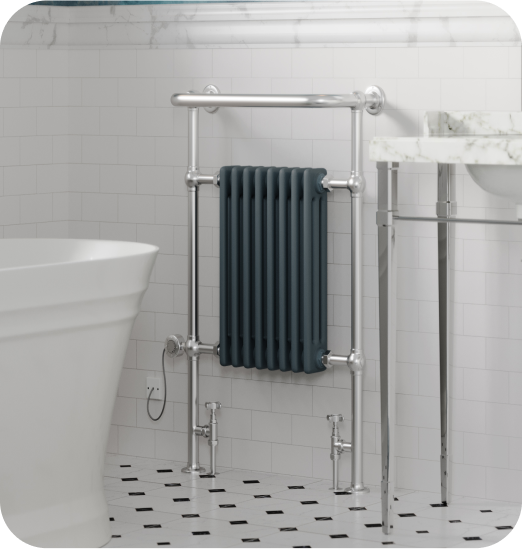
One of the biggest untrue claims out there is that Stainless Steel does not corrode, this is far from true. Our water from the mains, by design, has various chemicals added to it, including chlorides, which can react with stainless steel causing whats called ‘pitting’. You can sometimes see pitting in external corrosion, it looks like small circular marks. You may have seen it on bikes or anything metal that can get wet or is in the ground. However, if this happens internally in a radiator, it is a huge problem. The pitted area, for lack of a better description, is basically a new type of metal that is different to the metal of the radiator. As we mentioned, distance between materials impacts galvanic corrosion. When pitting occurs, the two different metals are touching - basically as close as they could be - rapidly increasing the rate of Galvanic corrosion. Sadly, there is no silver bullet material. When it comes to savvy material choices for your home, it all depends on your local area and water content. The central heating loop and water, by design, should be closed off from the rest of the hot water in your home. Which means that this problem is manageable. However, in some rare circumstances either intentional or by mistake, you may find that your bathroom radiator (usually the one that may be a problem) is connected to your domestic hot water. Basically, it only heats up when you run a bath or take a shower. This may seem like a great function, but when chlorides react with metal, they change in nature. So, while the amount of damage on a closed system is finite and manageable with other means covered later, in this scenario the chlorides are constantly refreshed from the mains water. So the radiator basically lasts months or a couple of years tops, before the chemical corrosion breaks its way through and ruptures the material. There are certain radiator materials that can be used for this scenario. But given the limited functionality, design flaws and issues involved, if you want your radiator in your bathroom to heat up all year round or when you use the room, get a dual fuel radiator and connect it to the central heating circuit in the normal way so it can be protected.Are there any good material choices to prevent corrosion?
As we say, you can’t prevent corrosion, but different types of corrosion have different issues. Iron based products (Steel, Stainless Steel, Cast Iron) will cause the worst type of corrosion, this corrosion has a by-product called magnetite (sludge) which can block pipes and travel around the system impacting other parts, damaging the heating system as a whole. Aluminium Rads can also corrode, but will not cause damage to other parts of the system. They are generally more expensive than Steel rads, but not as much as Stainless Steel or Cast Iron. In both cases however, the integrity of the radiator is jeopardised. So there is no scenario where you can choose a certain material and forget about the problem, you still have to manage it in basically the same way, as you still have copper pipes and brass valves, which we talk about in the next sections. So in our humble opinion, the focus of this issue is not the materials on the system, but rather, how you manage it as regardless of the materials and wider industry opinion of what materials corrode. The water in your area is different from someone else’s, so while in one area a material option could be great, it may not be great for another area and there is no data to tell us, down to a specific property, what the right choice is. Different radiator materials do have different benefits, which you can read about more in our Ultimate Guide to Radiator Materials blog.What happens if Corrosion is left unchecked?
You may have heard of the expression, one bad apple can ruin the bunch, but in this case, it can ruin the tree. Any part of the heating system can start the corrosion cycle, which we look at in more detail later on, for example, it could start with the copper pipes dependent on the other material in the system. But once started, it will build and exacerbate into other parts of the system and eventually, if no steps are taken, the system will fail which could result in, over time, multiple radiators, pipes and system parts rupturing, or the boiler itself packing up. Now that we have a good understanding of the different types of corrosion, we now need to understand how this impacts our radiators and heating system. For this we are looking at two different types, internal corrosion and external corrosion. Regardless of the type we identify, you should follow the preventative measures listed under both types of corrosion later in this guide.How to tell if it is External or Internal Radiator Corrosion
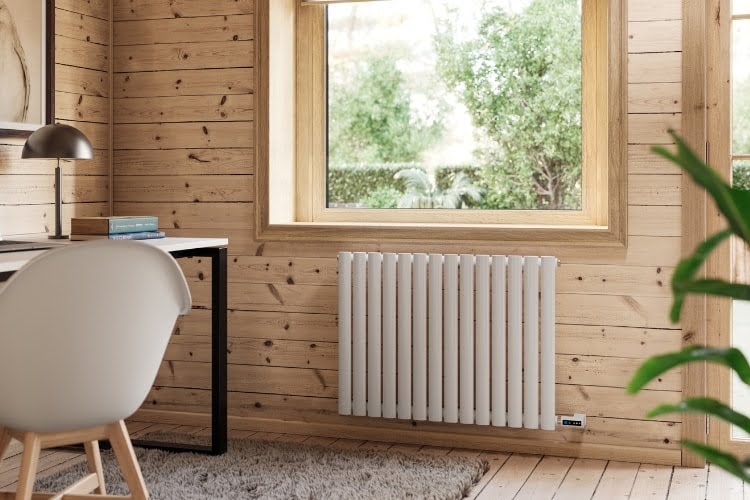
Generally speaking, internal radiator corrosion and rust will first become noticeable at the bottom of the radiator and not limited to the places where water can collect on the outside. It is also important to note where the radiator is in the house, if it is not in an area that is subject to moisture and condensation building on the outside of a radiator, like a Bathroom or Kitchen, possibly a conservatory, then it could likely be an internal corrosion. There are three simple ways to check for internal corrosion. However, it's important to note that these checks mostly apply to Iron based radiators, identifying internal corrosion for other materials is almost impossible without testing kits: Check 1 – Is the radiator leaking from the chassis and not the connection points? If it is, then the only real reason a radiator would rupture (unless someone took a hammer to it) is corrosion. If this is the case, then you will need to replace the radiator. If you are unsure where the leak is, see our How to Fix a Leaking Radiator Guide, but be sure to see the internal radiator corrosion section and preventative measures in this guide either way. Check 2 – When the heating is on, is the radiator cool at the bottom or patches of heat at the bottom? If so, we are looking at internal rust and corrosion. Check 3 – When the heating is off, bleed the radiator. Using a radiator key and with a small container in hand along with an old towel, open the bleed valve and allow the water to run for a few seconds, if the water is dark in colour then we know it is internal rust and corrosion. External radiator corrosion and rust can also be identified, generally this looks like pitting or blotchy spots in an area of the radiator where water can sit easily. It is commonly found on either the top and bottom of the radiator and can often be seen along the tubes of towel rails where the towel would sit.External Radiator Corrosion
External radiator corrosion is the least concerning type as far as maintenance is concerned. While it cannot be left unchecked, dealing with this is a relatively easy process.What causes External Radiator Corrosion
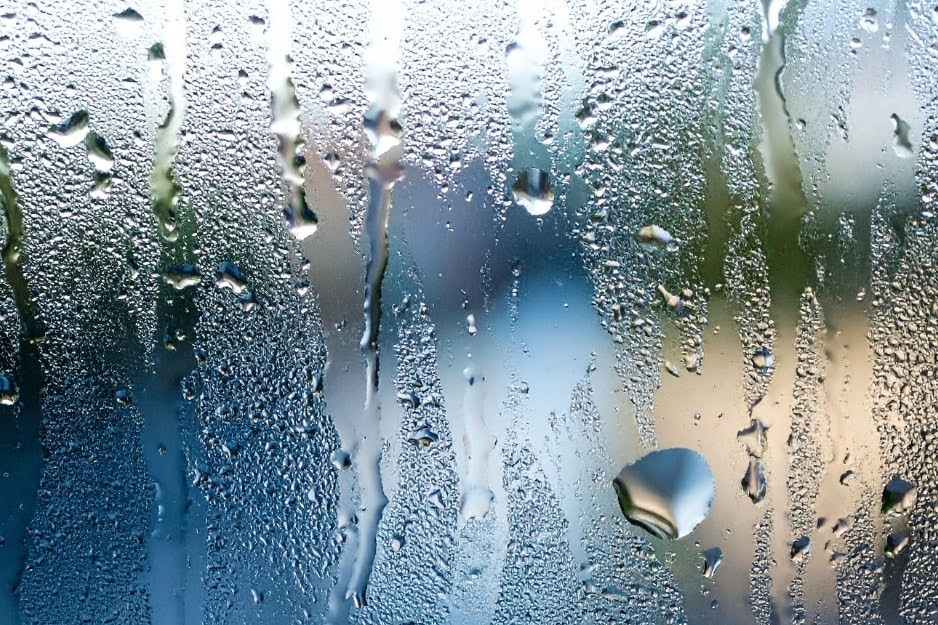
Generally speaking, you won’t see this type of rust or corrosion outside of the bathroom or kitchen, this is because these are the areas of the home a radiator will be where condensation will build up on the radiators forming water droplets. In essence, a poorly ventilated area that is subject to moisture. So in this case, you would usually notice the rusting at the top or bottom of the radiator first, depending on the rad design and where the water can sit most comfortably. The other common cause of this is where harsh cleaning products have been used on the radiator, so if parts of the surface are scratched or reduced (the paint or chrome plating for example, which is the protective layer that prevents external rusting) then the radiator will start to rust, we spoke briefly about the corrosion cycle, so this is a very important consideration when we get to removing rust. Finally, the other most common cause of this is purchasing a radiator that is not BS EN 442 compliant or from an untrusted provider. As part of BS EN 442, the radiator design must undergo corrosion testing, where the radiator is exposed to an environment that would cause this type of rusting. The environment is prepared for at least 100 hours minimum, and if corrosion occurs in that harsh environment, the design is not fit for purpose. This is a legal requirement under the Construction Products Regulations but has no bearing on internal corrosion.
How to prevent External Corrosion
Step 1 - Dry the radiator frequently, more often in the months of the year where the heating is not on. Pay special attention to locations where water can build up on the design. Step 2 – Install radiators in rooms with sufficient ventilation, where this is not possible and the room is subject to moisture build up and condensation (kitchen and bathroom), leave the door open after use. Step 3 – Radiators should form part of your cleaning and housework routine, prior to radiator rust building up, a soft sponge and water is sufficient to clean the radiator. Be sure to dry it with a soft towel after cleaning. Pay special attention to locations where water can build up on the design. Step 4 – Do not use harsh cleaning products on the radiator, especially where these can scratch or wear down the surface coating. You should never use chemical cleaners or vinegar. While they will hide the corrosion, they will make it worse via chemical corrosion Step 5 – For painted radiators, if there are chips or scratches in the paint, consider a touch up paint for the radiator to fill these in. You can speak to the radiator supplier who should hold what you need to match the colour and it shouldn’t cost too much to purchase a small pot of touch up paint.How to remove External Rust from Radiators
Always try with a soft sponge and water only as your first attempt, it can often be sufficient to do the job on both chrome plated and painted rads. If that is sufficient, pay note to the preventative measures going forward.Chrome Radiators and Towel Rails
For chrome plated towel rails, you need to consider the extent of the rusting before considering whether it is worth cleaning. Other than light spotting where towels can go, or where water can sit, this shouldn’t rust all over unless it has been cleaned with something harsh like a scouring pad. We spoke about the corrosion cycle earlier, and if it has been scoured and scratched, that will exacerbate the corrosion and rust, so any further harsh cleaning may only be a temporary fix and make the problem worse in the long run. At this point it is worth considering a new radiator, but you can still attempt a clean, just expect to need to do it frequently with some effort. What do we need:- Sponge
- Bowl
- Soft Towel
- Soft Bristled Toothbrush (for hard to reach areas or tricky spots)
- Mild Cleaning products.
Painted Radiators and Towel Rails
First we want to try giving it a clean What do we need:- Sponge
- Bowl
- Soft Towel
- Soft Bristled Toothbrush (for hard to reach areas or tricky spots)
- Mild Cleaning product
- Using light sandpaper, remove the rust and paint from the radiator.
- Prime the area using a metal primer
- Use touch up radiator paint to fill in the area, a few coats may be needed. To match your colour, speak to your radiator supplier who should hold what you need.
- It is important to note that if the radiator is old or discoloured, it may not be possible to match the colour, so you might have no choice but to follow option 2.
Internal Radiator Corrosion
We mentioned earlier about the corrosion cycle, what is important to understand is, once it starts, it builds upon itself and not only speeds up the rate of corrosion in the system, but also spreads to other parts that would not normally be subject to corrosion. If we identified internal corrosion via one of our checks listed above, then fixing the individual radiator is not the overall goal and doing that alone is simply applying a bit of sticky tape to a gaping wound. We need to address the issue at large and resolve the root cause and to stop the cycle.What causes Internal Radiator Corrosion
We covered this earlier when we spoke about Rust, Corrosion and Galvanic Corrosion. What you commonly find online is that “Sludge is the main cause”, however, sludge is the symptom and not the cause. The cause is an improperly maintained system, which is reliant on water PH levels and chemical management with appropriate use of inhibitors along with frequent health check-ups by a professional on the boiler and heating system as a whole. Therefore, we will first talk about our preventative measures before moving onto how we deal with our current corrosion issue.
How to prevent Internal Corrosion
We have broken this down into yearly checks and more significant steps that can be taken if rust and corrosion is a recurring issue in your system.Annual Prevention
Step 1 – Frequent servicing of the heating system by a heating professional. There seems to be an expectation in the market that heating systems should only last 5-10 years, which shouldn’t be the case. A small servicing cost that should be taken per the system/boiler instructions, that prevents long term costly issues (like sludge build up in the system) from occurring. Step 2 – Appropriate PH balance for the metals present in the system. As a rule of Thumb, this should never be below 6 or above 8.5 (this is material dependent, but these levels are suitable for all metals that could be on the system). The easiest way of maintaining the PH balance is to drain the system as part of the annual servicing. You can also test to see if this process is necessary by using litmus paper and a PH chart. Step 3 – Using appropriate inhibitor on the system that is compatible with the materials (metals) present. Central Heating Inhibitors are vital in preventing the build-up of rust and corrosion and should be added to the system once a year (or as needed), often done as part of the boiler servicing. Step 4 – Checking the water in the radiators. Bleeding each radiator for a few seconds and catching the water in a tub is a very easy way to identify if that radiator has a sludge build up. This only takes a few seconds per radiator. The darker the water, the higher the corrosion. Step 5 – Checking the radiators heat up correctly. Periodically checking for cold spots on a radiator is another good way to check the system for corrosion. Cold spots at the top mean there is air in the system that can be resolved by bleeding the radiator, but cold spots at the bottom indicate a sludge build up and corrosion. We would recommend that the heating system is serviced once per year by a heating professional and that all these steps are checked, they can then drain the system and rectify any issues of corrosion build up. These are also common steps required by your boiler manufacturer to maintain the warranty of the heating system so it is well worth doing.System Changes for Corrosion Prevention
Other changes to the heating system that could be carried out are:- Magnetic System Filter – As we mentioned, once rust and corrosion starts, it travels around the system infecting other parts. A Magnetic System Filter is a great way to help protect the system as a whole by picking up the metallic elements of sludge and filtering them out from the system water.
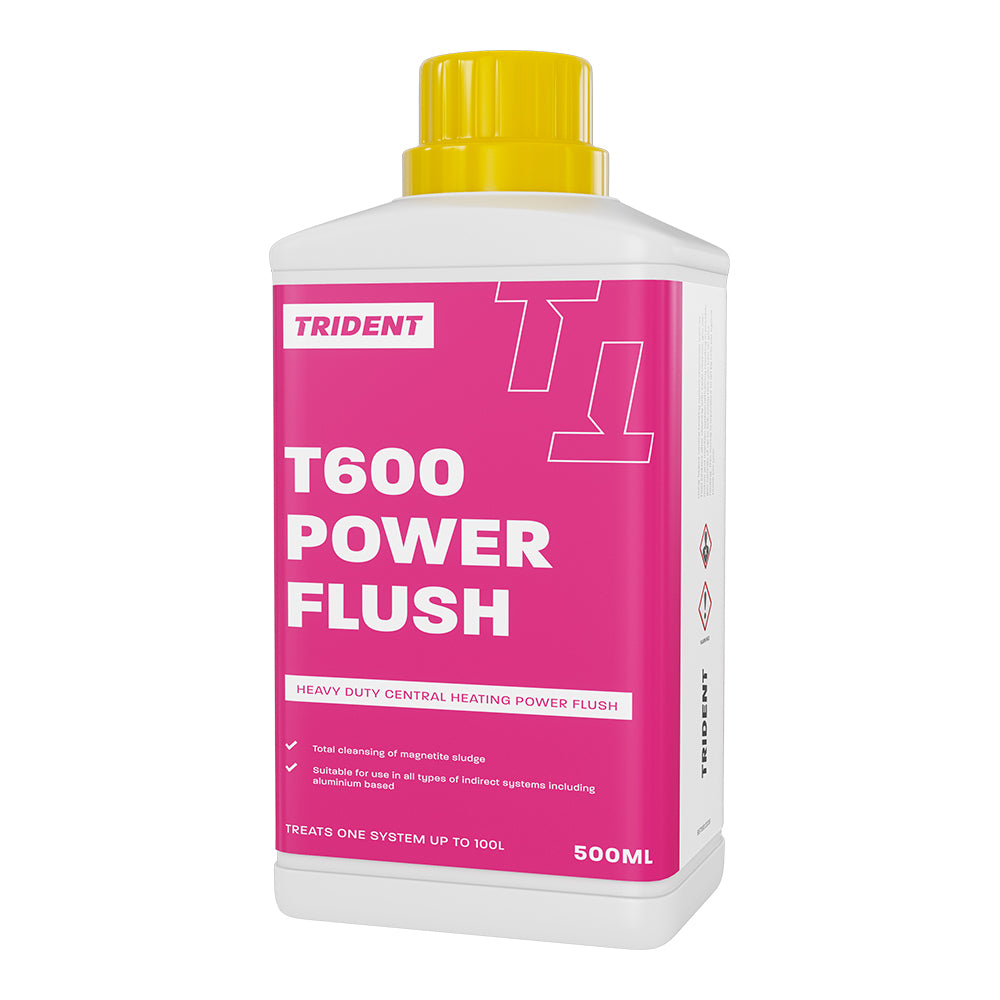
- Power Flushing – Flushing the system may be required and can be used as a preventative measure. The pressure of power flushing should be low enough not to exceed the recommended operating pressure of the parts within the system. However, this is not a regular activity and there is different advice as to how frequently this should be carried out.
How to Remove Internal Corrosion From Radiators
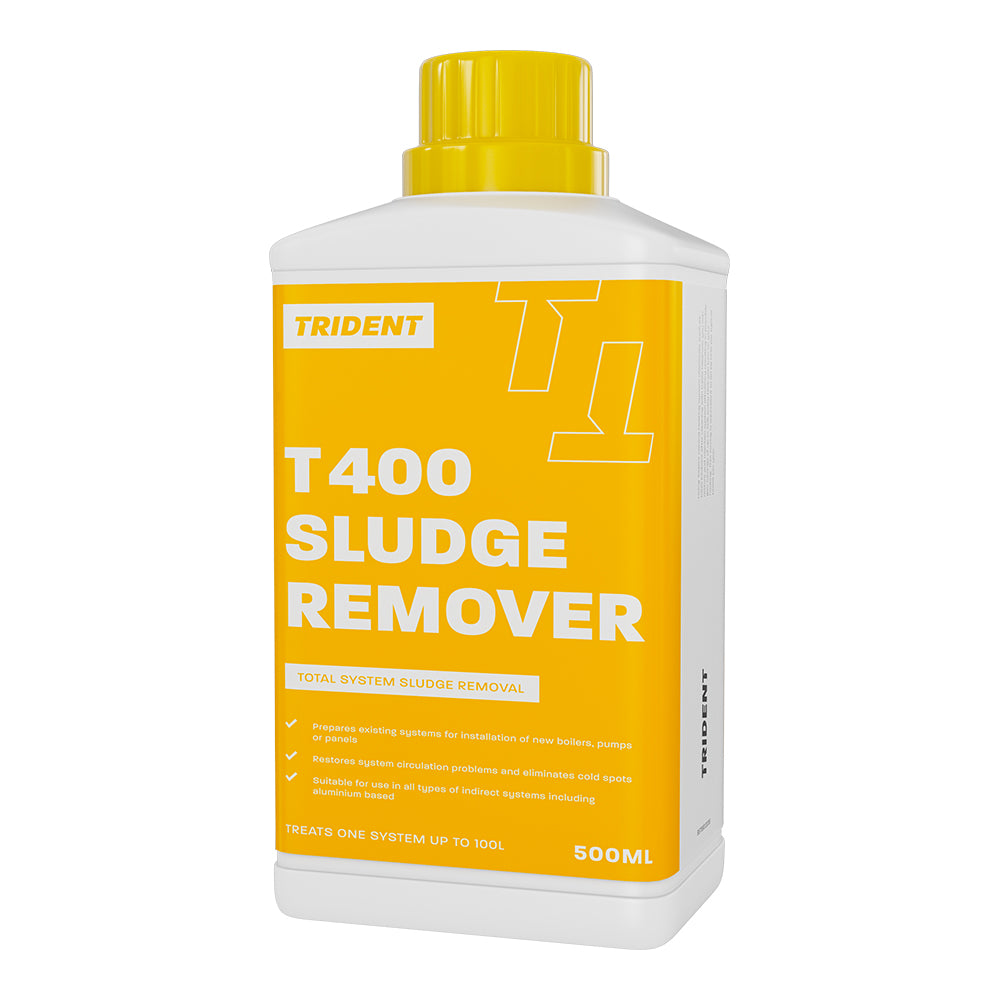
How we go about this does depend on how many radiators we believe have a sludge build up. A lot of advice online will simply tell you to remove the radiator, clean it out with a garden hose and job done, but as we have said, this is an indicator of a larger issue and simply doing this is like putting sticky tape on a gaping wound, we haven’t fixed anything. So, we likely found ourselves here due to one of the following:- A radiator has ruptured
- A radiator was not heating up correctly
- Should the system be power flushed?
- Should a Magnetic System Filter be fitted?
- Should each radiator be de-sludged individually?
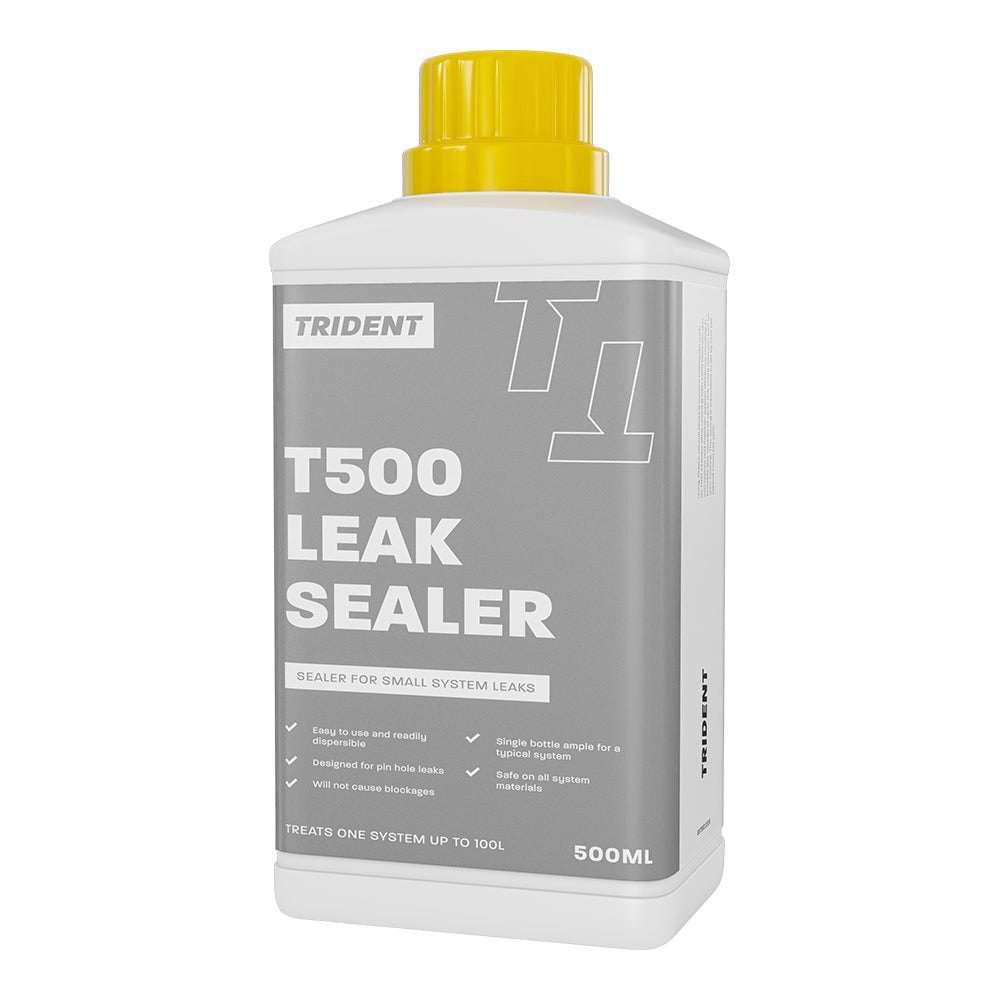
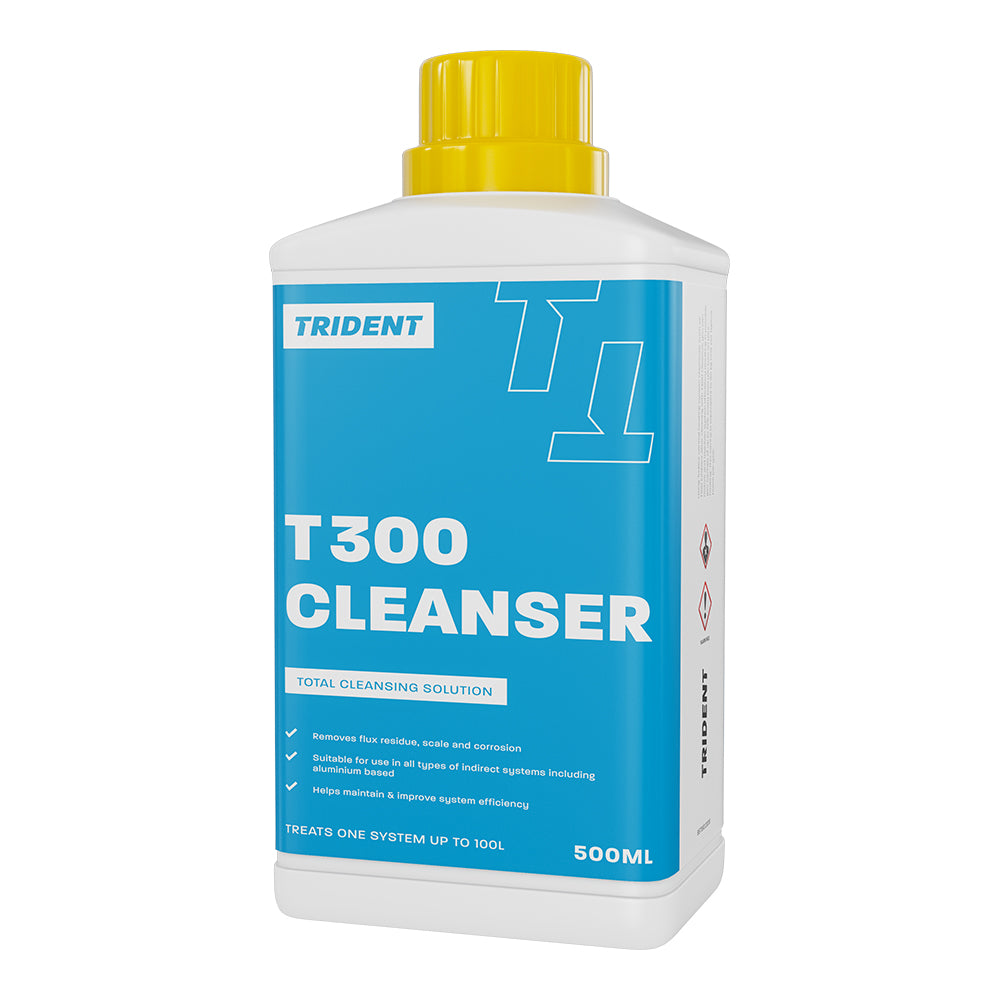
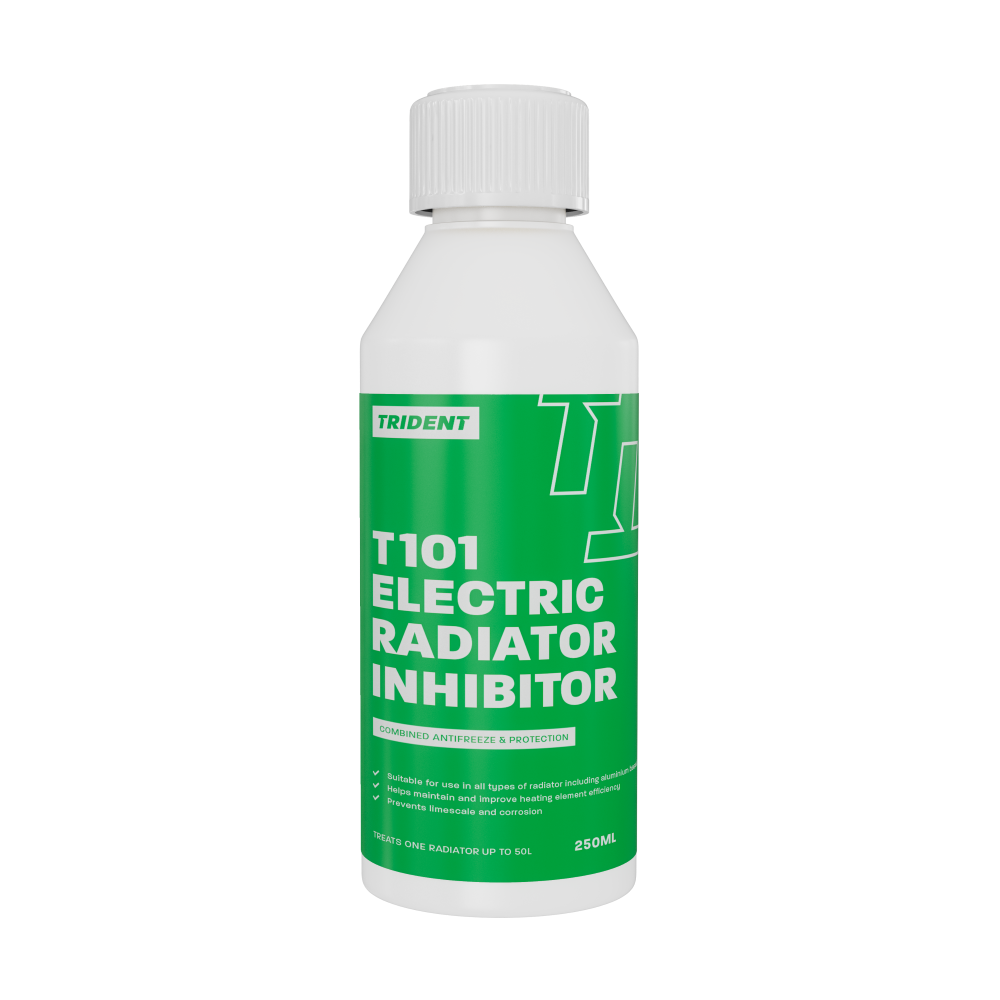
- What Inhibitor should be used and how much?
- How do you drain the system and refill it?